FUNTRAX AIRTRACK – RUNTRAX – AIRBEAM – USERS MANUAL
1.INTRODUCTION
2.SAFETY INSTRUCTIONS
3.USER INSTRUCTIONS/TECHNICAL DATA
4.SETUP
5.STORAGE AFTER USE
6.PROBLEM SOLVER
7.REPAIR
1. INTRODUCTION
This user manual describes how to use and handle your Funtrax Airtrack.
Before using the product, read this manual thoroughly. For further questions please contact our customer service by mail or phone.
We hope you will be pleased with your new Airtrack from Funtrax.
2. SAFETY INSTRUCTIONS
- These instructions apply to all inflatable products from FUNTRAX. The products will be described hereafter as Airtrack.
- Funtrax Airtracks are custom-designed training equipment for home gymnastics, cheerleading, tumbling, school sports, showgroups, martial arts, parkour, freerunning and tricking.
- Do not use shoes on an Airtrack as it may damage the surface. If a better grip is desired, use Funtrax socks with grip.
- Never place an Airtrack near/under overhead obstacles, such as trees, power lines, overhead garage trusses or the like, and do not place the Airtrack on a slope.
- Do not bring sharp objects onto or near an Airtrack.
- Avoid jumping or landing closer than 20cm from a valve.
- Make sure that the product has sufficient air pressure to prevent damage. Recommended air pressure levels are found in this manual.
- Do not use an Airtrack without using landing mats at both ends. For safety reasons, you must also place landing mats on the sides.
- The area in which the Airtrack is located must be clean, dry, flat and free from obstacles and sharp objects.
- When moving the Airtrack, do not pull it along the ground. Lift it by using the handles and avoid scraping or dragging it.
- Do not inflate your Airtrack in damp places near electricity.
- Do not use the Airtrack in the rain. This can be dangerous as the surface becomes slippery in the rain.
- IMPORTANT! Do not expose the Airtrack to heat, including heat from prolonged exposure to the sun.
- If you leave your Airtrack outdoors, it is recommended to adjust the air pressure to a minimum to reduce the risk of overpressure in hot weather (heat may cause excessive pressure which may cause a breaking of joints).
- Please note that the Airtrack gets firmer in warm weather and loses pressure when subjected to less heat.
- When installing the Airtrack outdoors, use an underlay to avoid damaging your Airtrack.
- Do not store or transport an Airtrack when it is wet.
- Clean the Airtrack with water and soft soap. Do not use industrial cleaners.
- Never use a damaged Airtrack.
- Never leave an Airtrack without making sure the pressure is low, due to heat development, as described in this manual.
- Please note that Airtracks are not intended as landing mats.
- Avoid pumping your Airtrack up to a level more than hard. Always pump up your Airtrack under supervision.
- It takes the same amount of time to deflate the Airtrack as it does to inflate it.
3.USER INSTRUCTIONS
FUNTRAX Airtracks are produced with the purpose of home training, gymnastics, acrobatics, cheerleading, tumbling, martial arts and parkour.
The product can be used by anyone, regardless of weight, age or proficiency level.
Note that an Airtrack cannot be used as a landing pad, due to its bounce effect.
To ensure the best training, it is important that you find the right pressure.
HARD. : At high pressure, you create a dead floor, as used at competitive level.
MEDIUM : At lower pressure you get the feeling of a better bounce, which helps you train your jumps.
SOFT : Even lower air pressure is recommended for play and fun or gymnastics at the beginner level.
The optimal pressure in the Airtrack is different from person to person, and it depends on weight, proficiency level and the kind of activities that are performed.
The best solution for optimum pressure is to stand on the Airtrack and feel how it is, making sure that you can’t push it all the way down when you jump. If you’re unsure whether you have enough air pressure in the Airtrack, pump some more air in it.

4.SETUP
Make sure that you have read the safety instructions carefully before setting up
1.Find a good, flat area for the Airtrack. To avoid damage, make sure that there are no sharp objects in the area. If you use the Airtrack outside, always use an underlay.
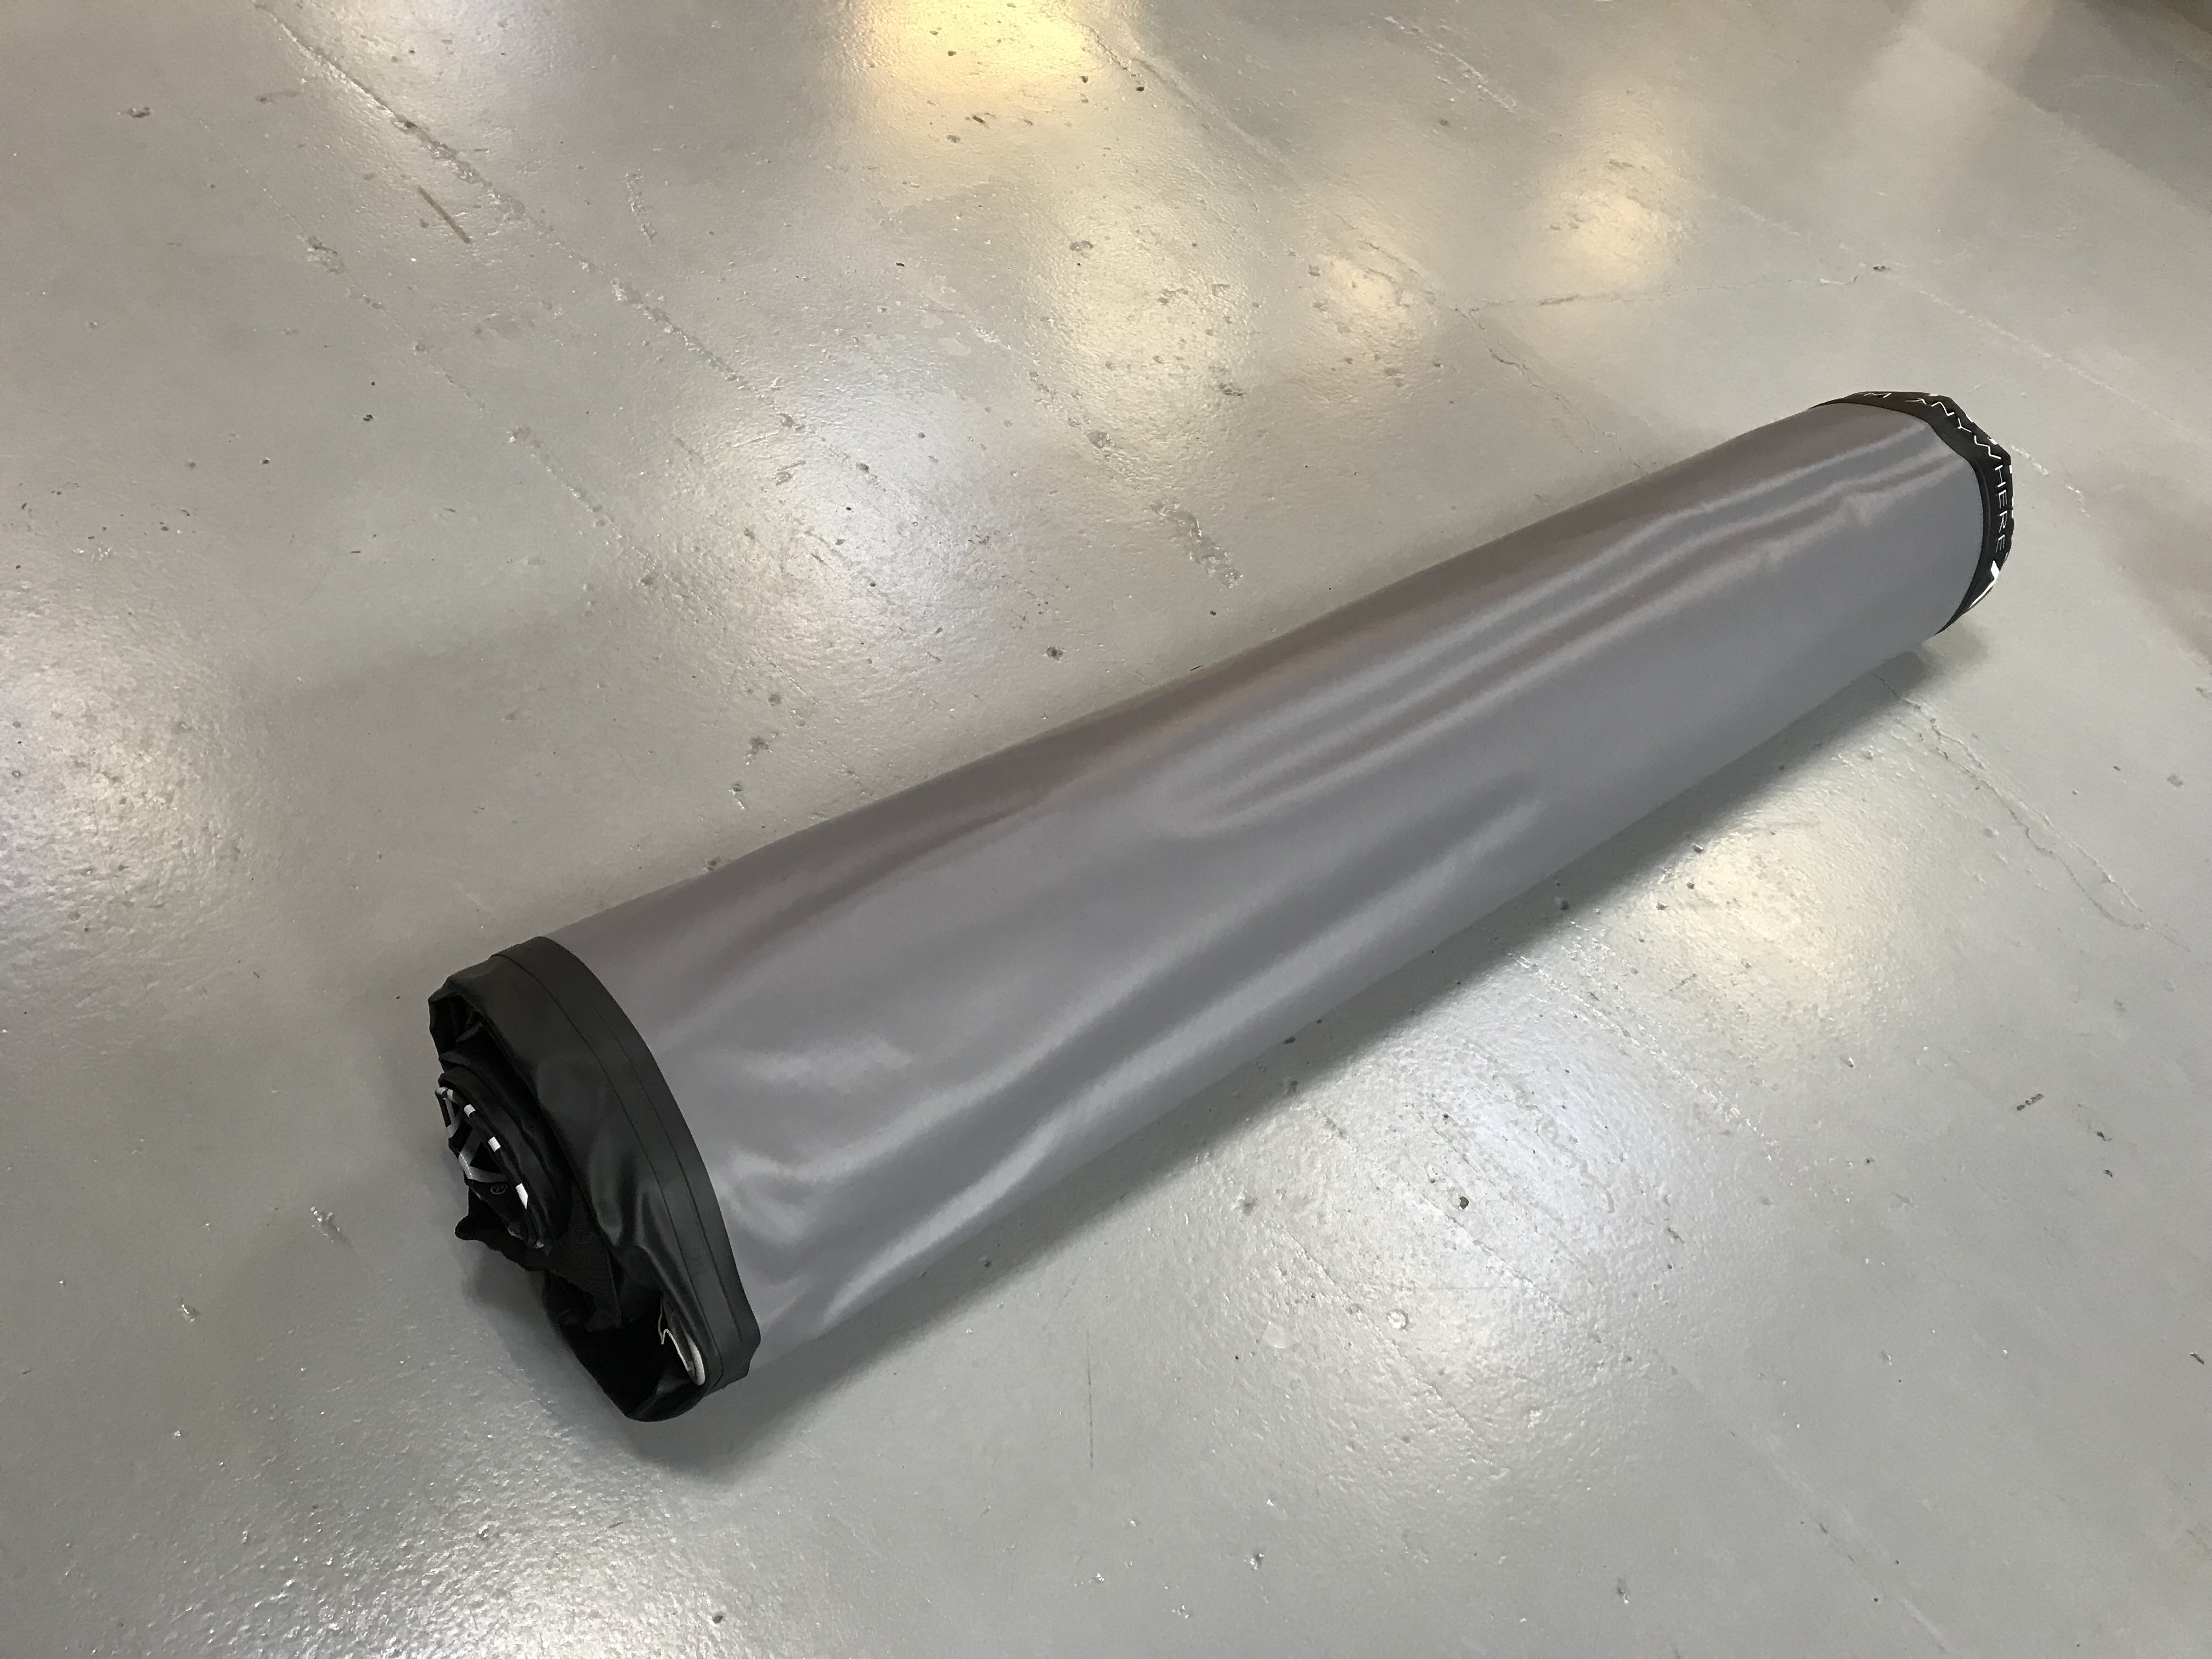
2.Move the Airtrack (still in the Funtrax bag) to the desired location.
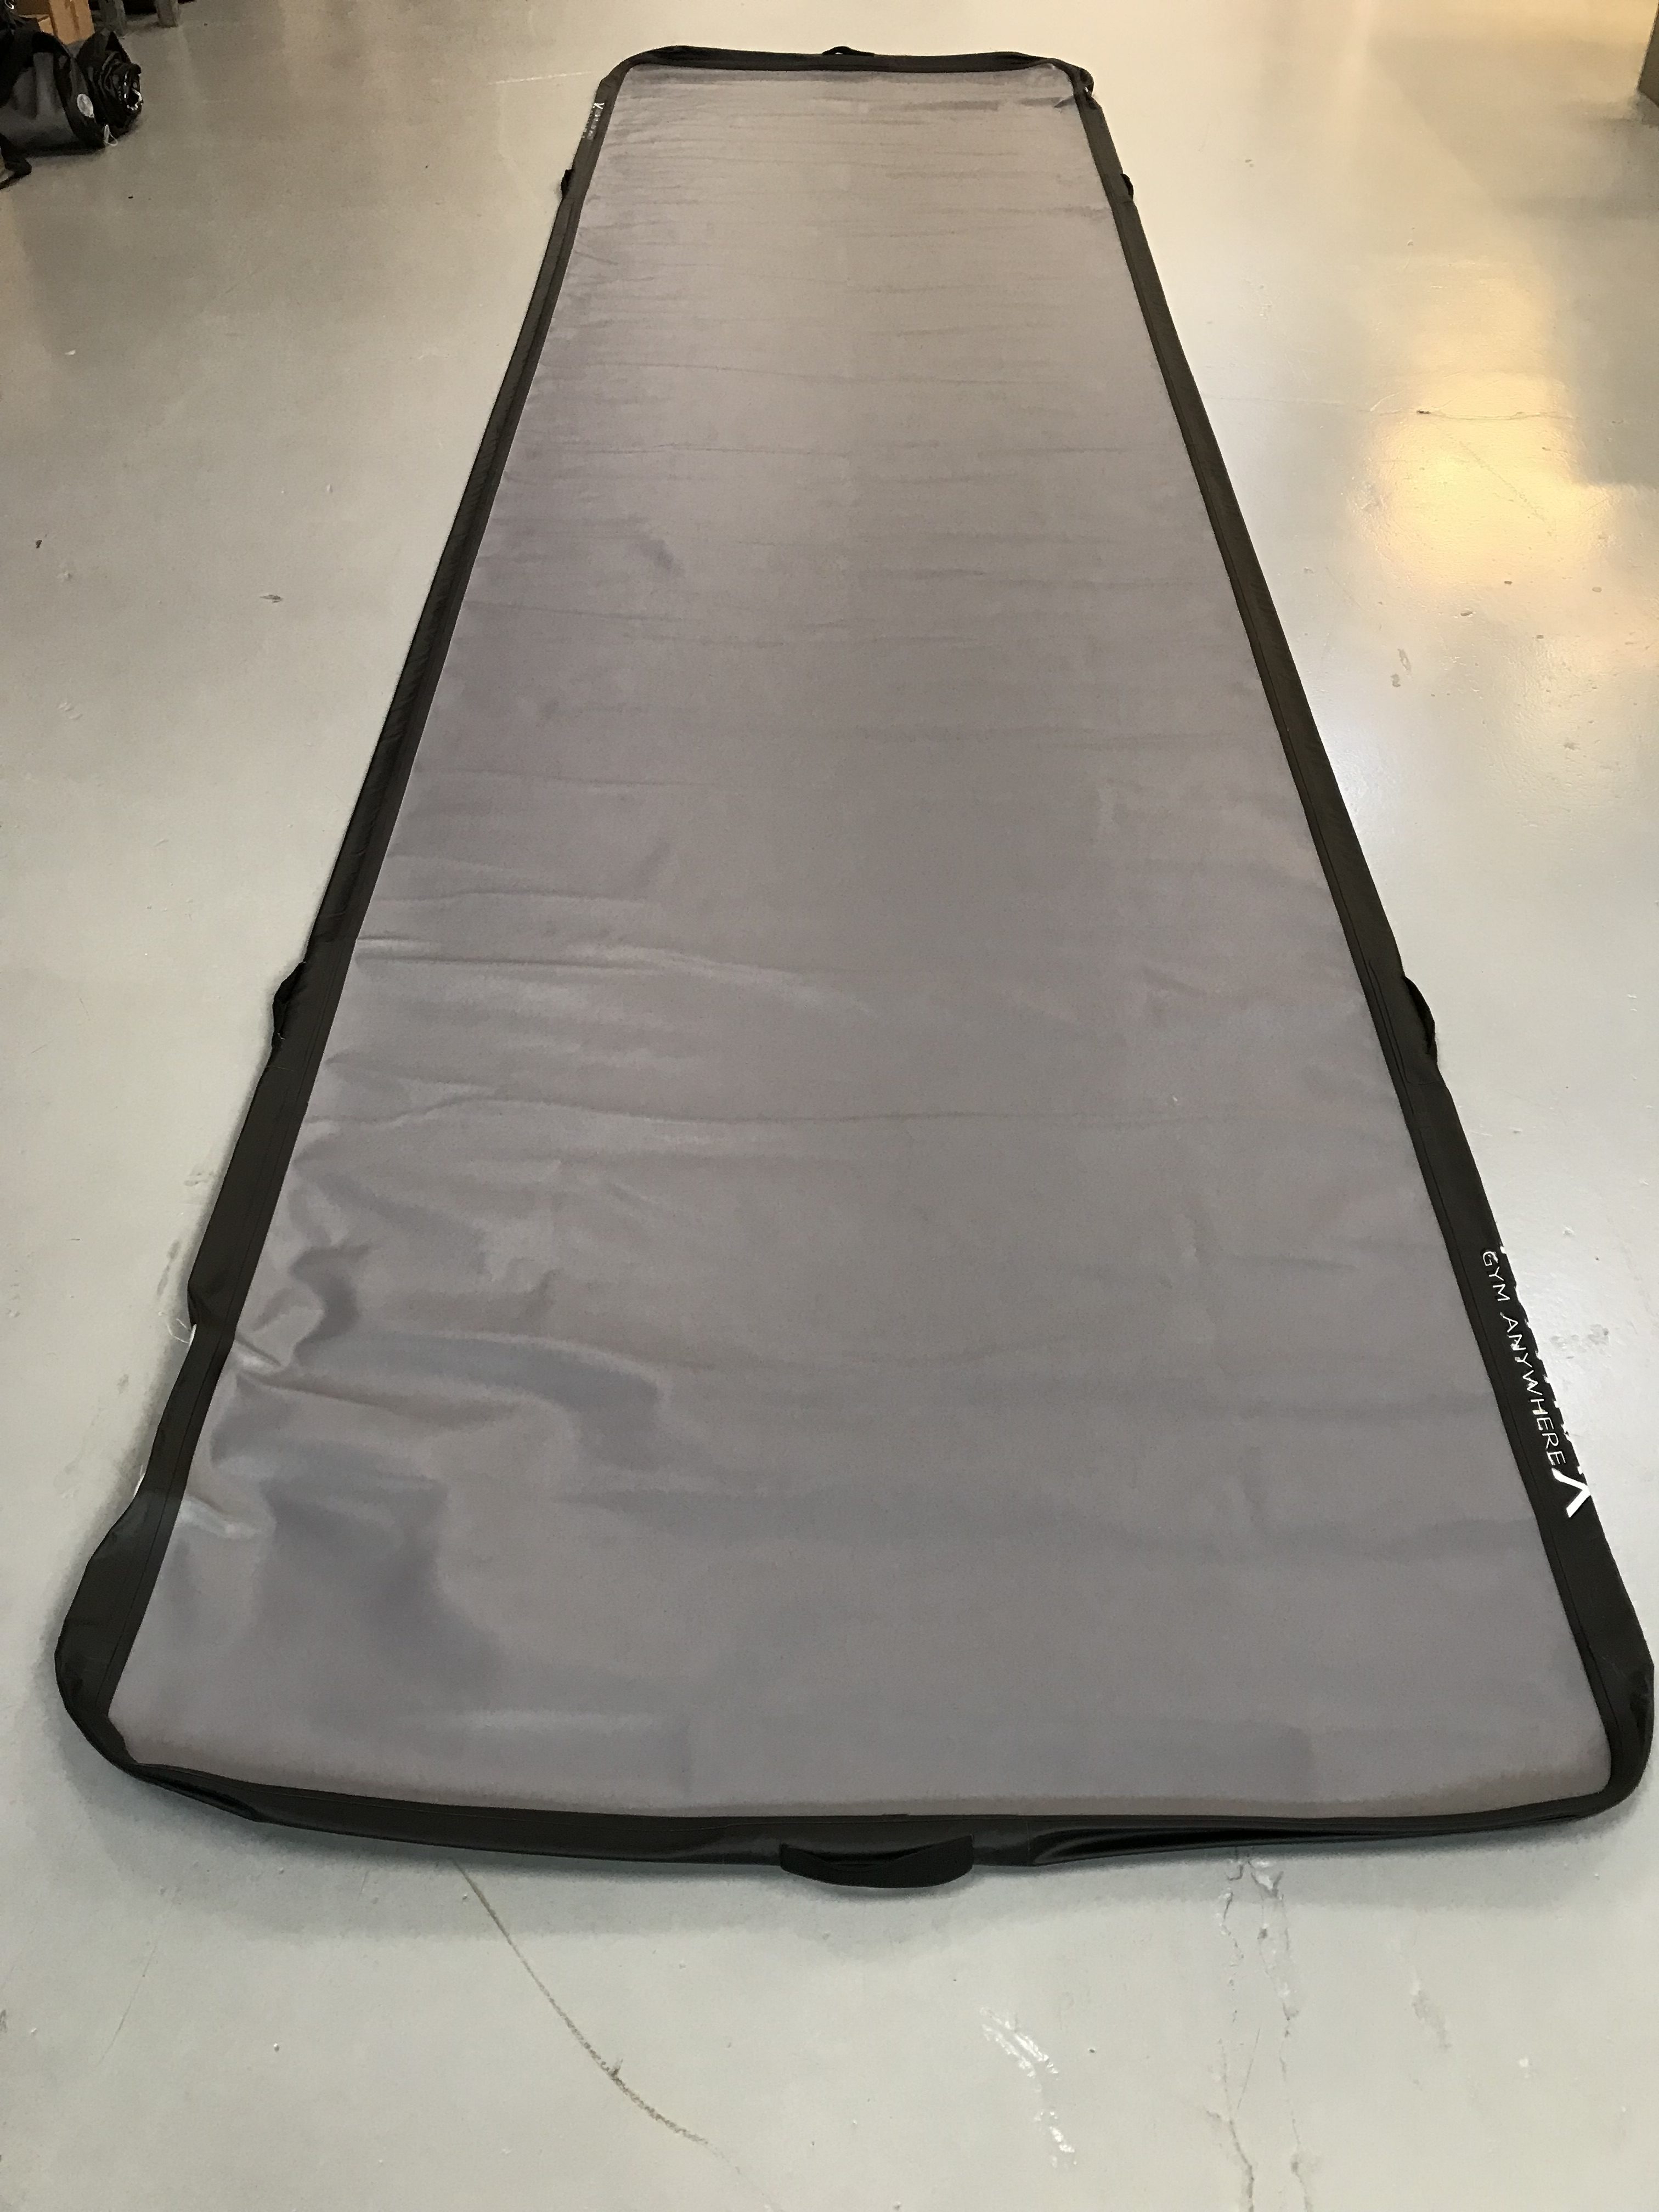
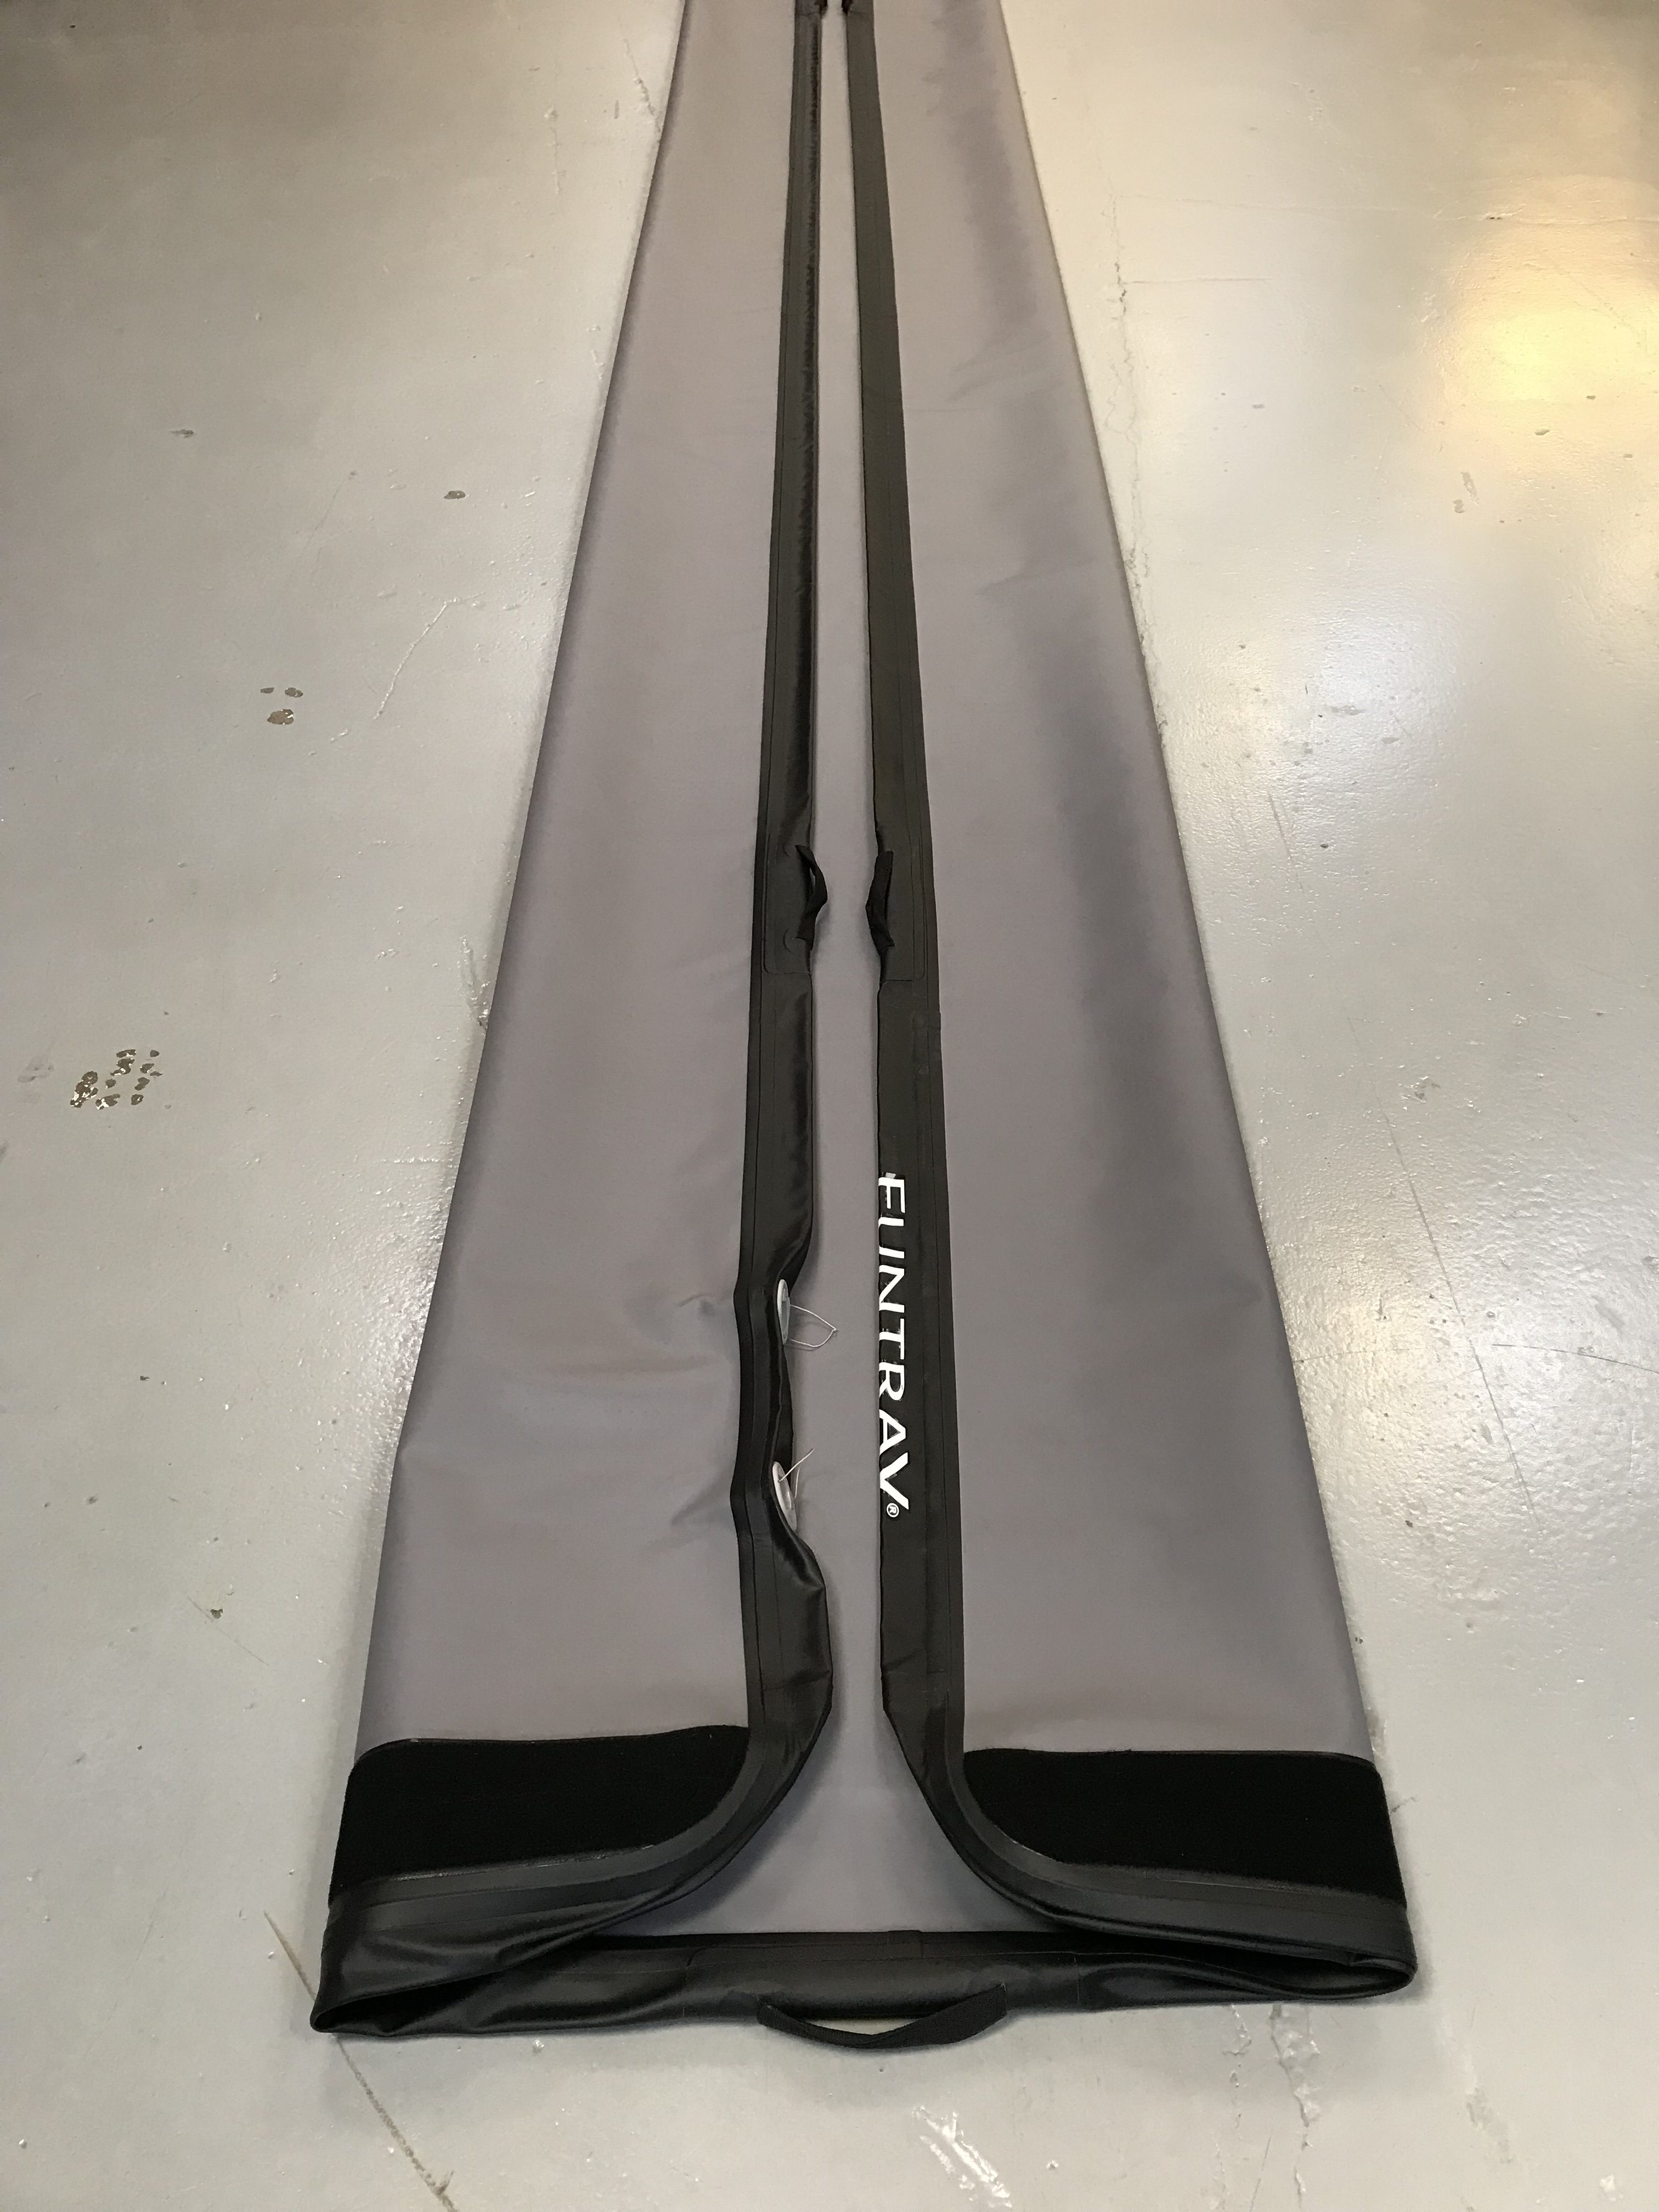
3.Remove the Airtrack from the Funtrax bag and unfold it.

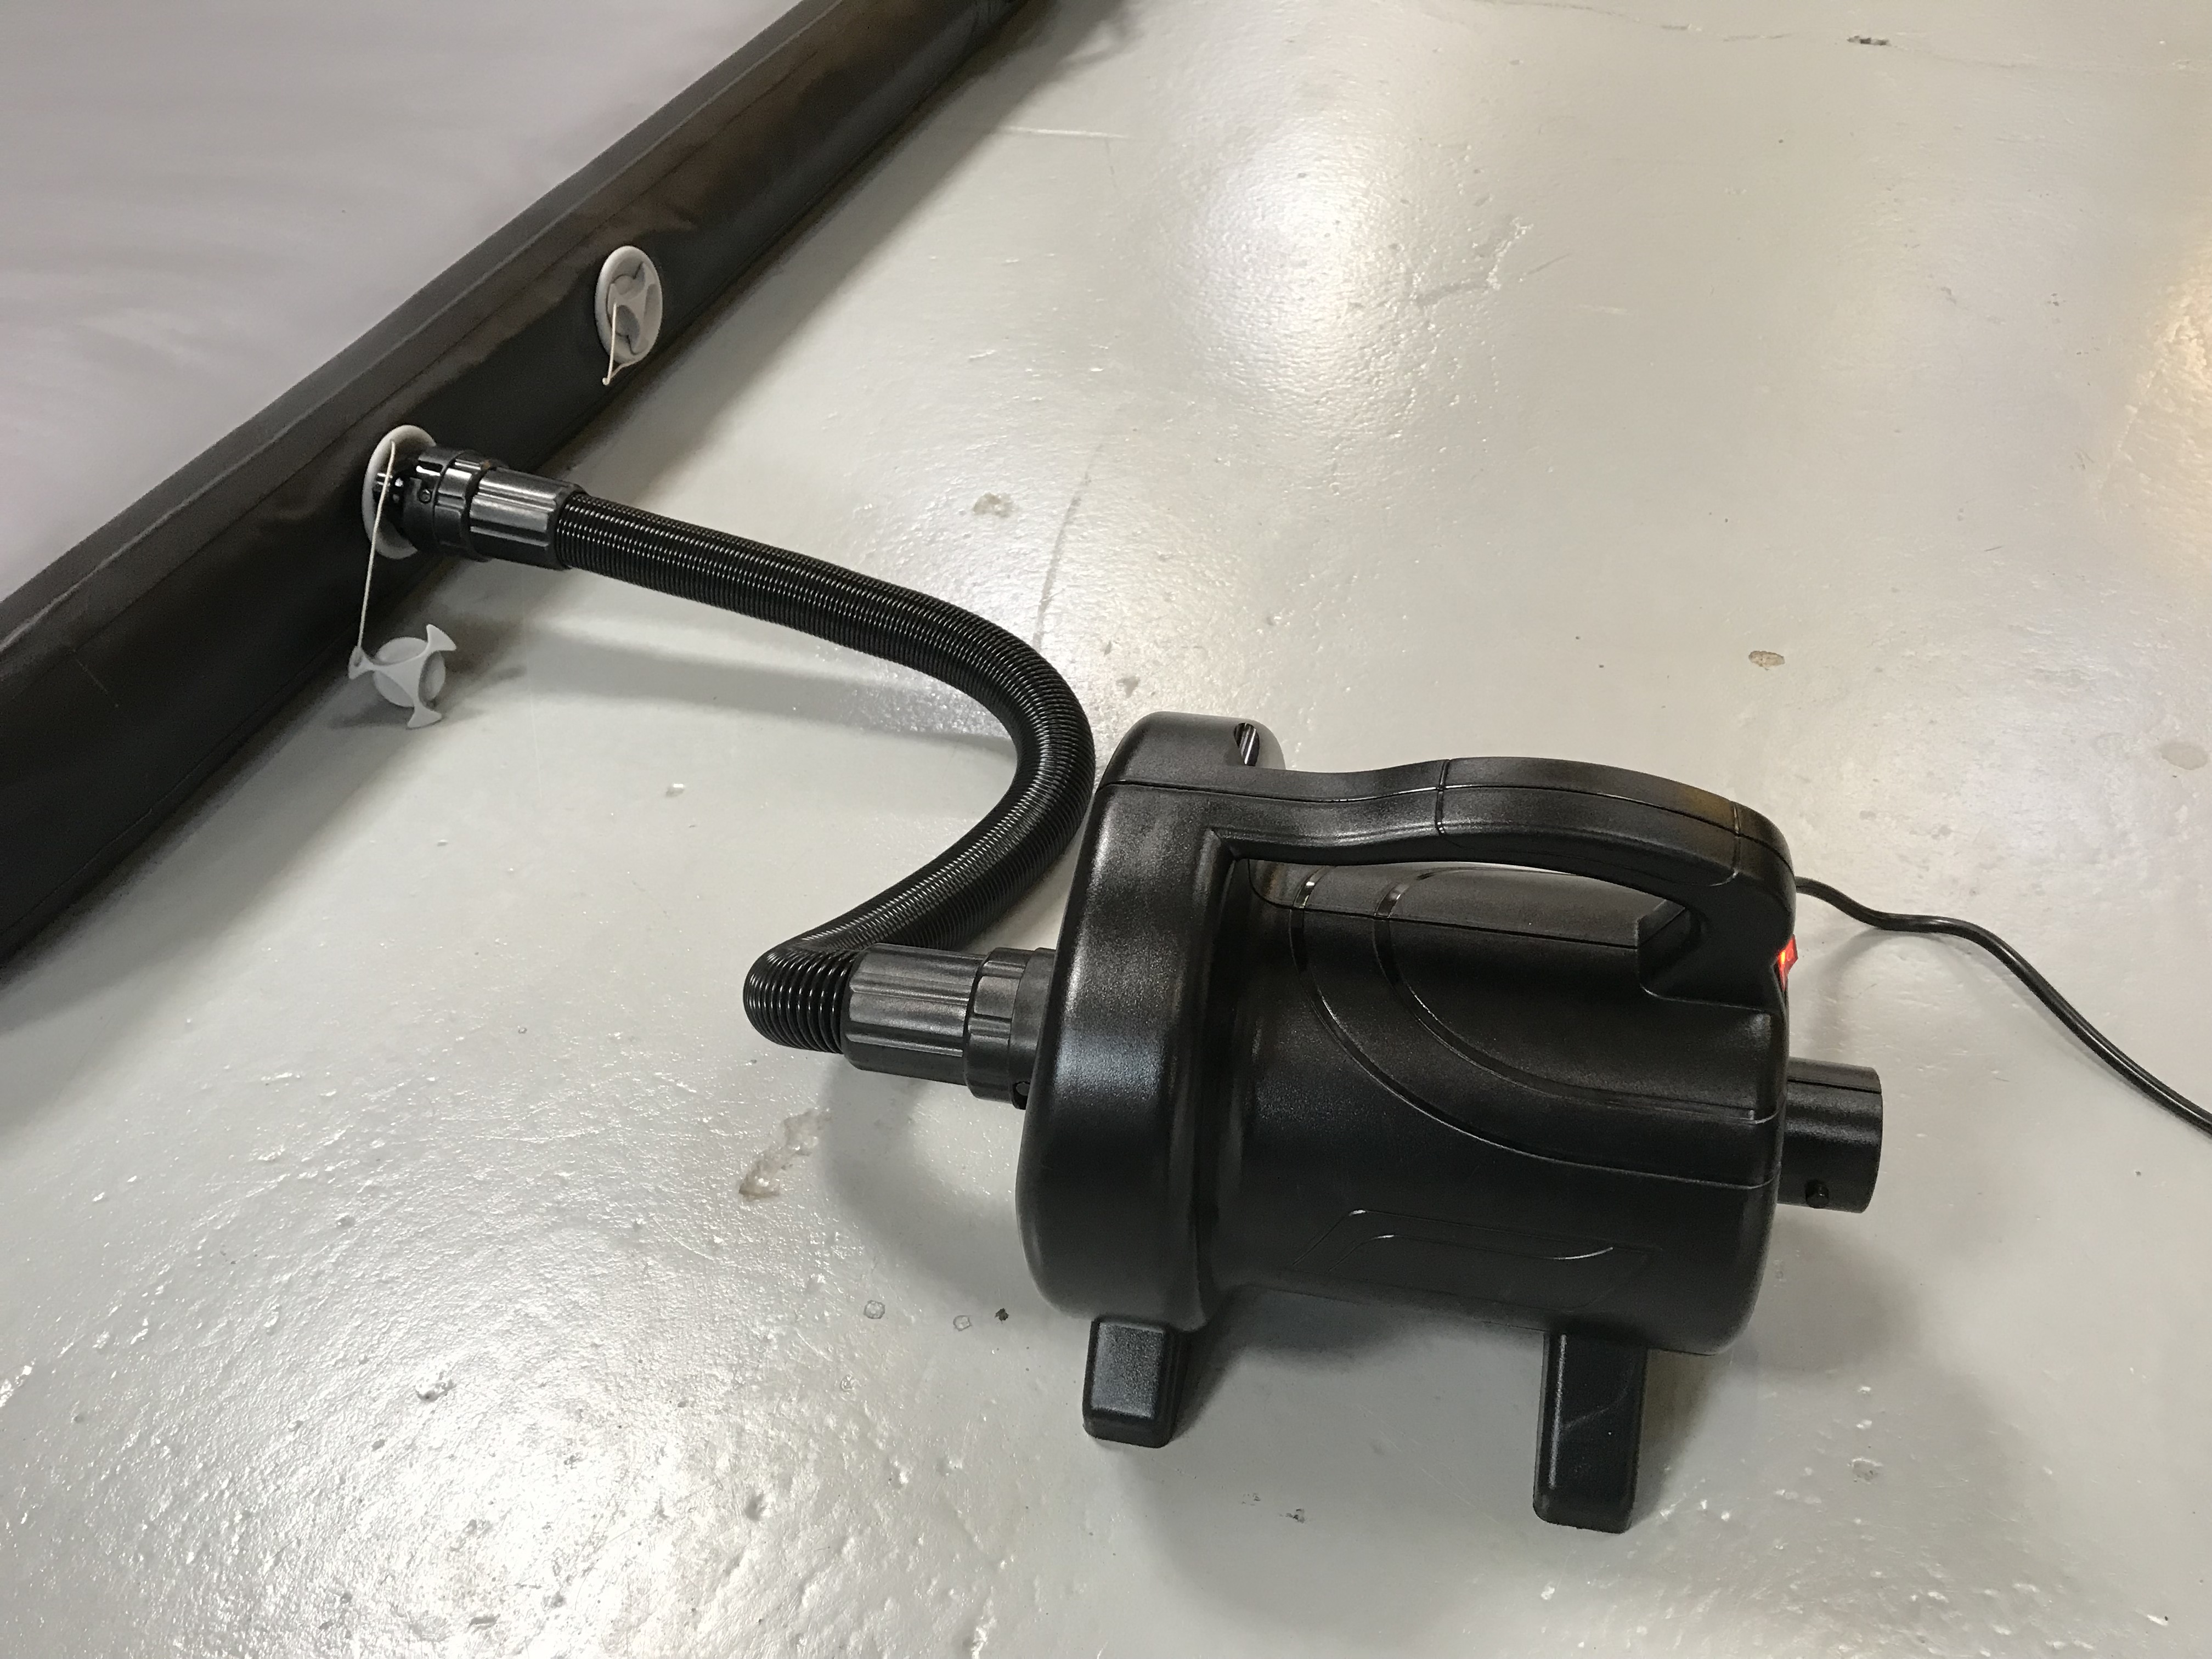
4.Put the pump into the socket and connect it to one of the valves (it doesn’t matter which valve, as they are all identical).
5.Turn on the fan and wait for the Airtrack to reach the desired pressure.

6.Turn the fan off and unplug it.
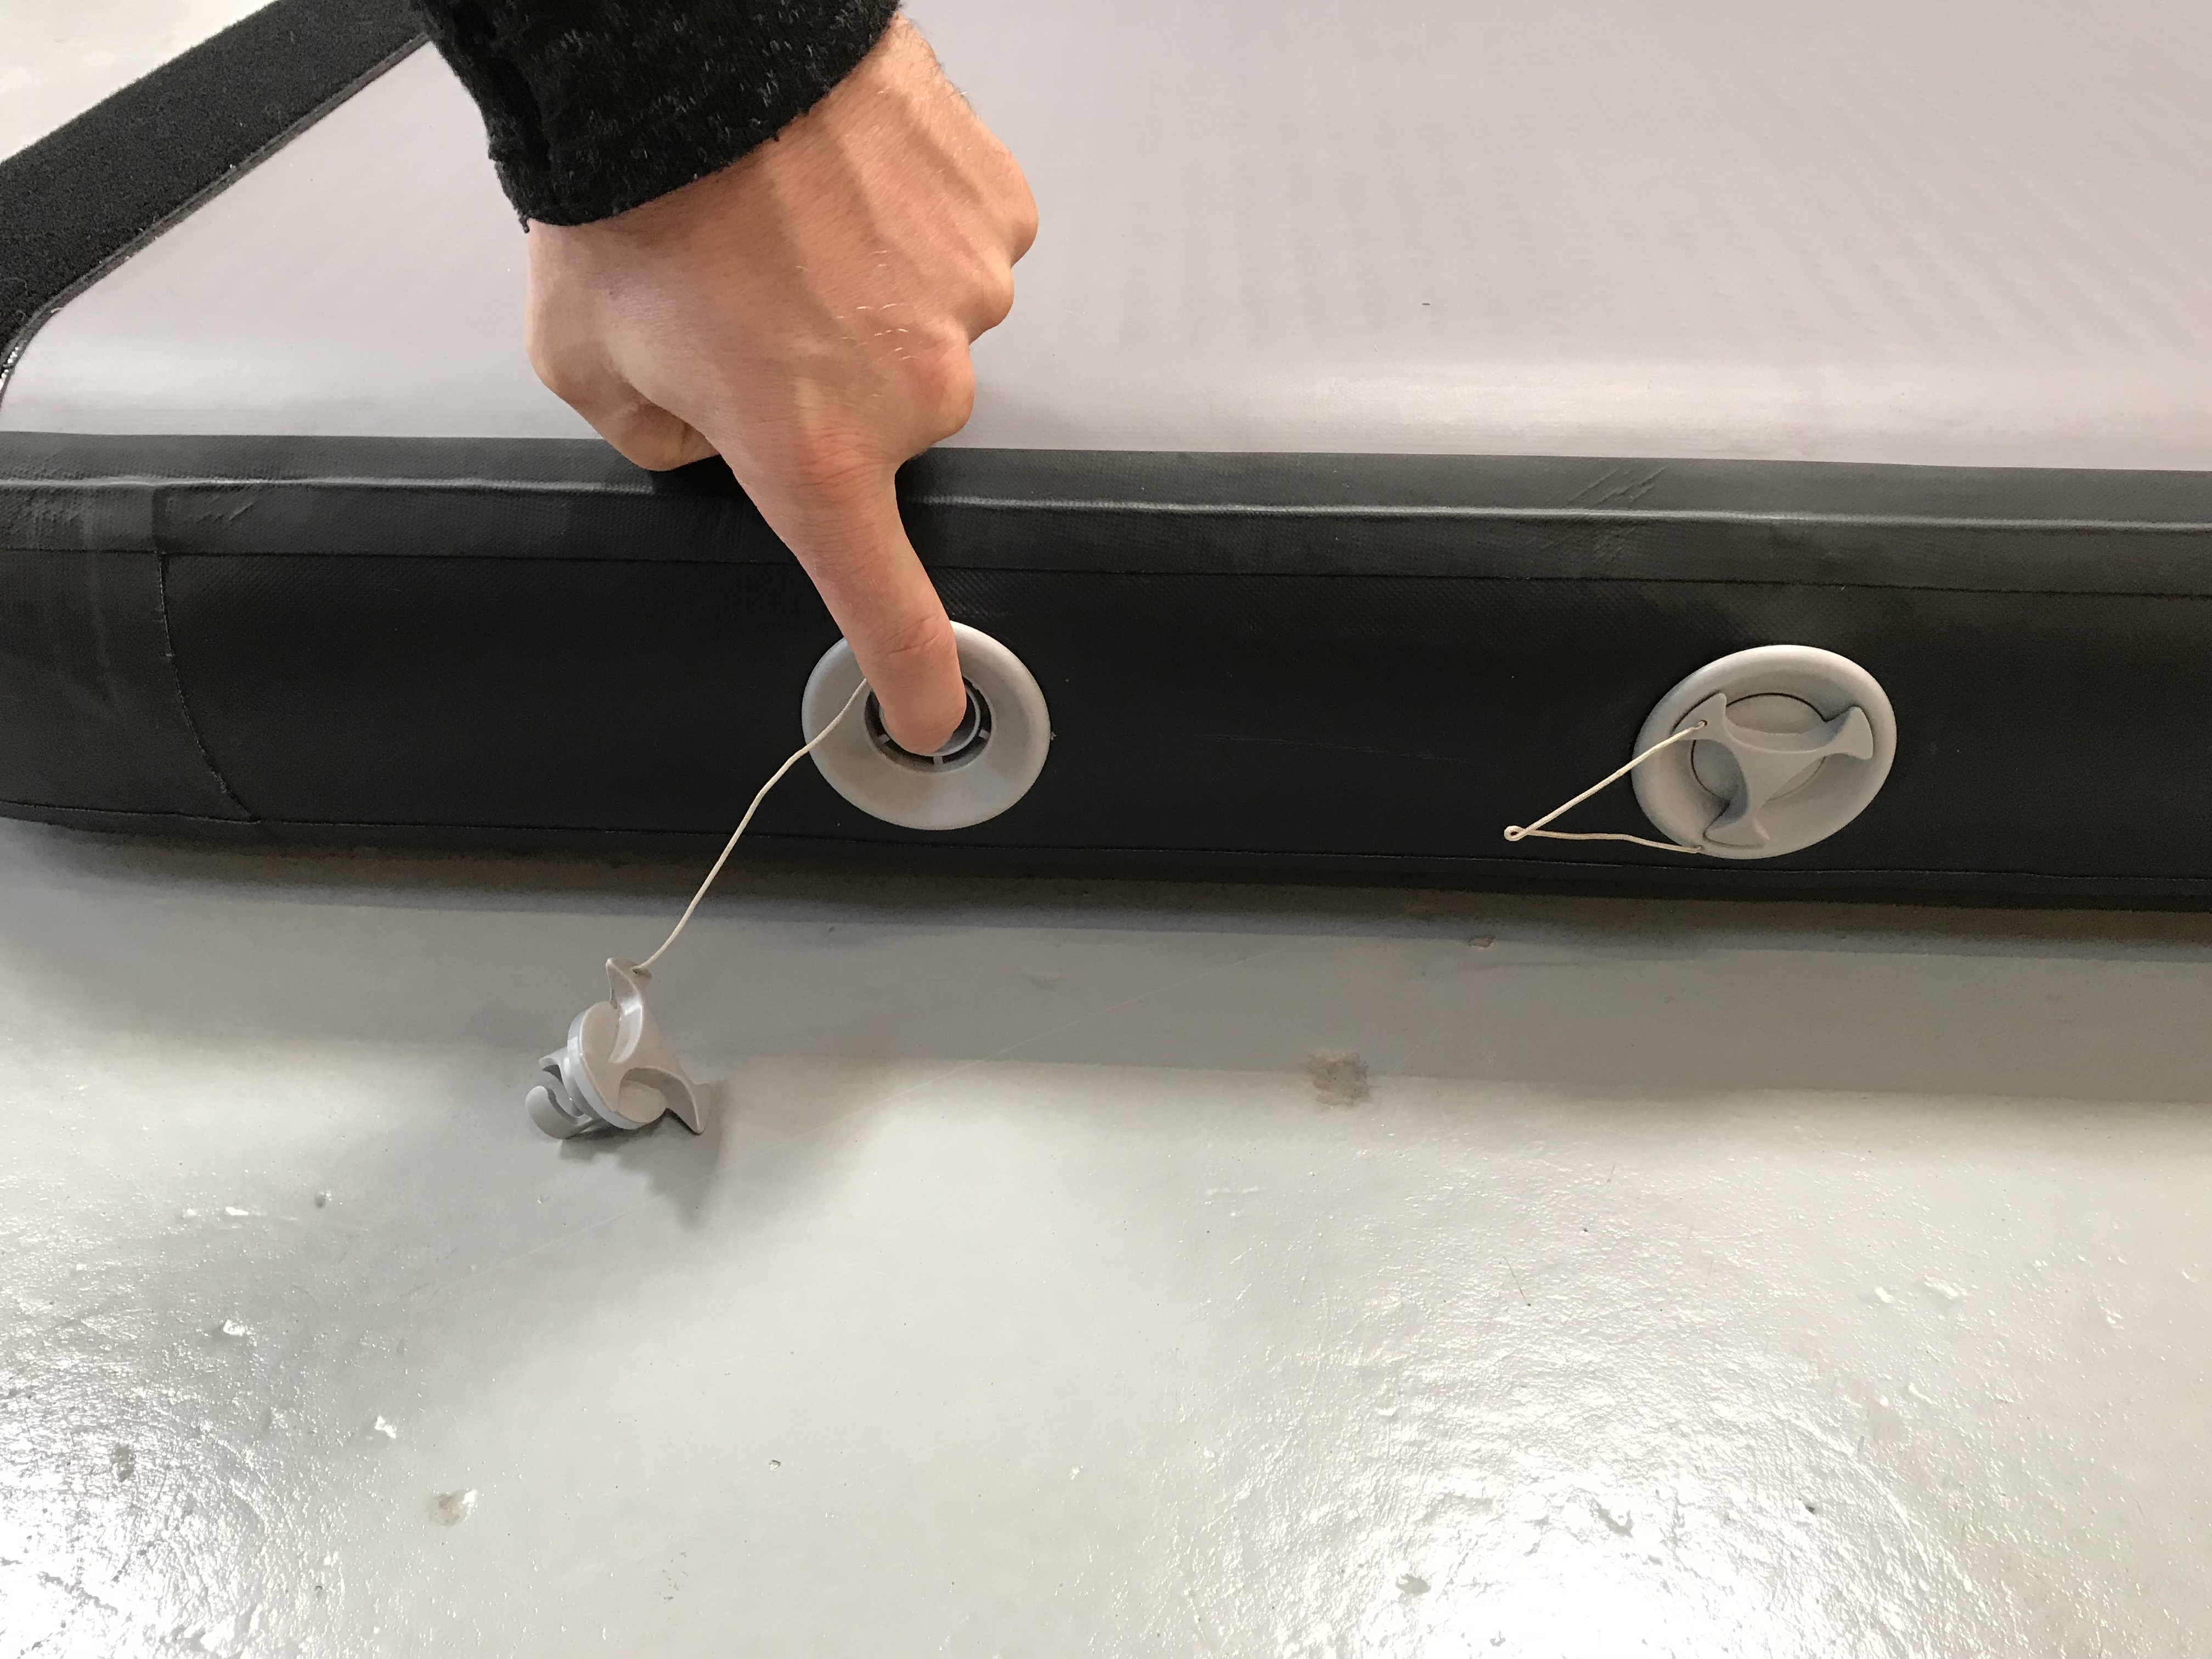
7.For fine-tuning the air pressure, press the valve to decrease pressure. For higher pressure, pump again (item 5).
8.Ready for use.
5.STORAGE AFTER USE
The following instructions outline how to care for your Airtrack after use.
Make sure the Airtrack is not wet or dirty.
1.Plug the pump into the wall socket
2.The pump can inflate and deflate. Move the tube to the other end of the pump for deflation.
3.Connect the pump to one of the valves and turn on the pump.
For longer Airtrack models, deflate one end of the Airtrack first, and then the other, in order to get all the air out.
3.Connect the pump to one of the valves and turn on the pump.
For longer Airtrack models, deflate one end of the Airtrack first, and then the other, in order to get all the air out.
4.For manual pumping, press the valve and start rolling to push the air out of the Airtrack.
There are 2 ways to pack the Airtrack
HOME – HOMEplus – PERFORMANCE – PRO
Method 1 : Roll the Airtrack at its full width and put it in the bag. ( Recommened for less fold marks)
Method 2 : Turn the Airtrack around (white stripe side down to the ground/floor). Now, fold it 2 times, as shown on the image, then roll the Airtrack and put it in the Funtrax bag.

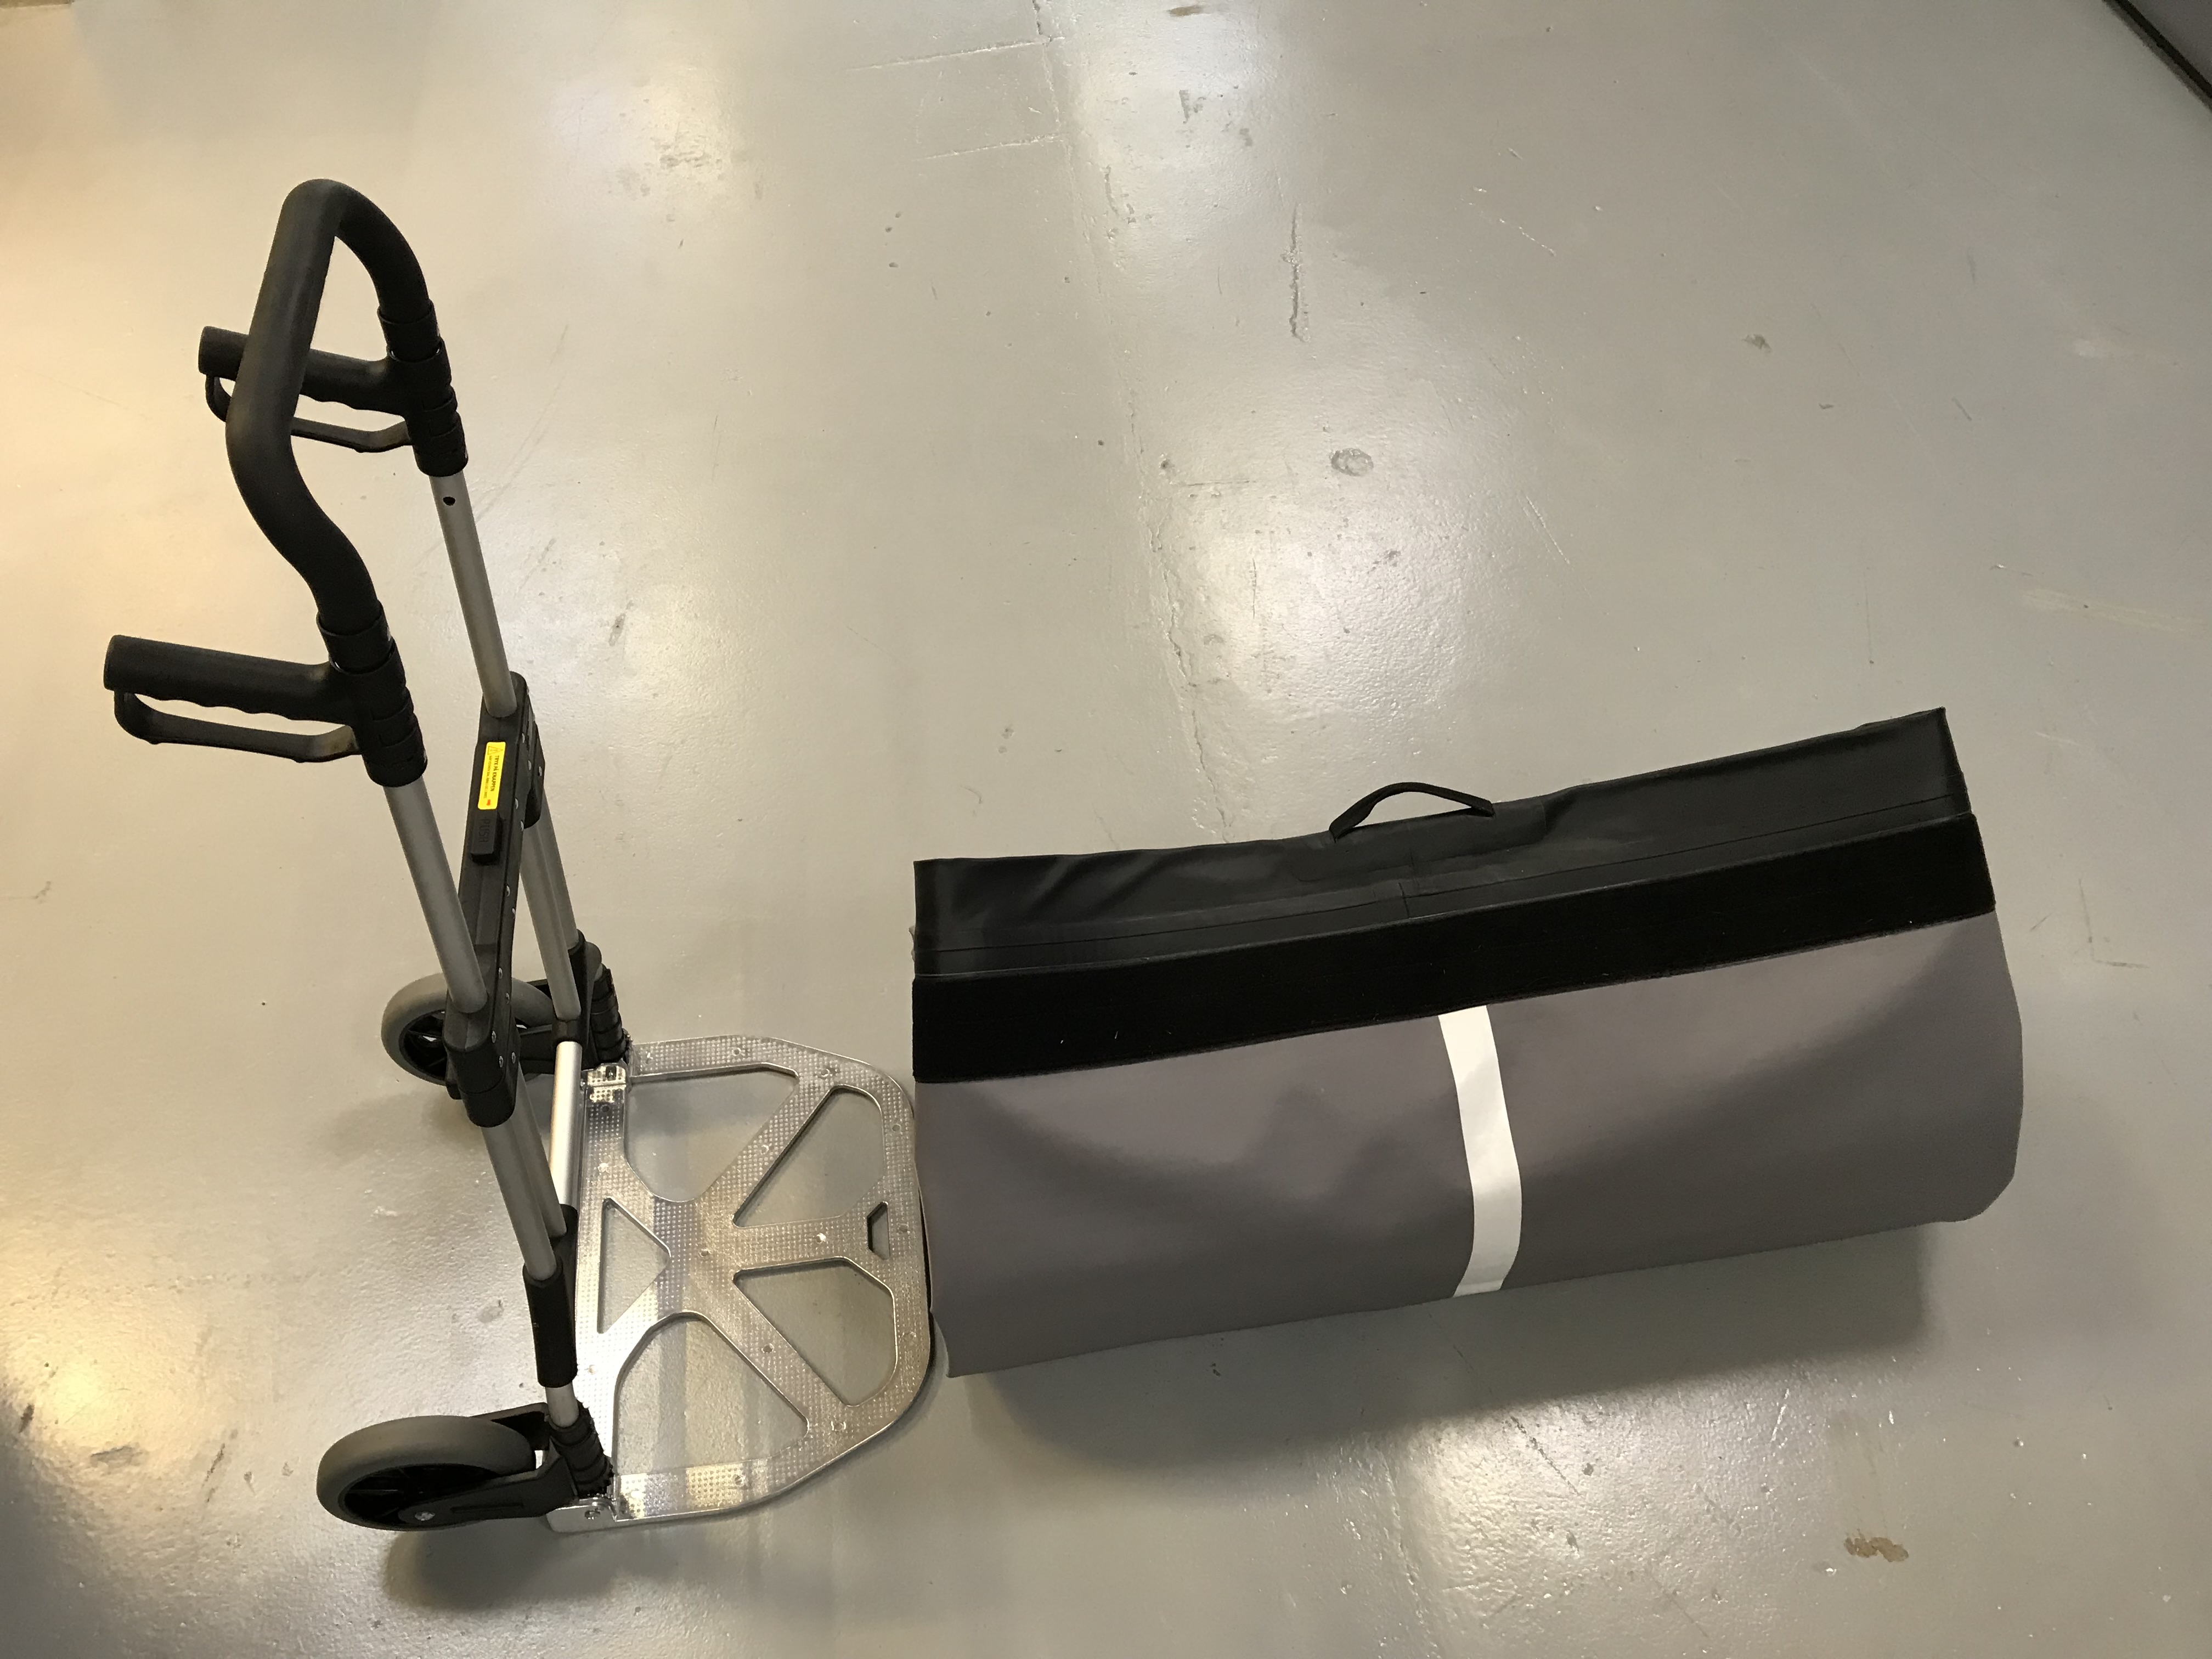
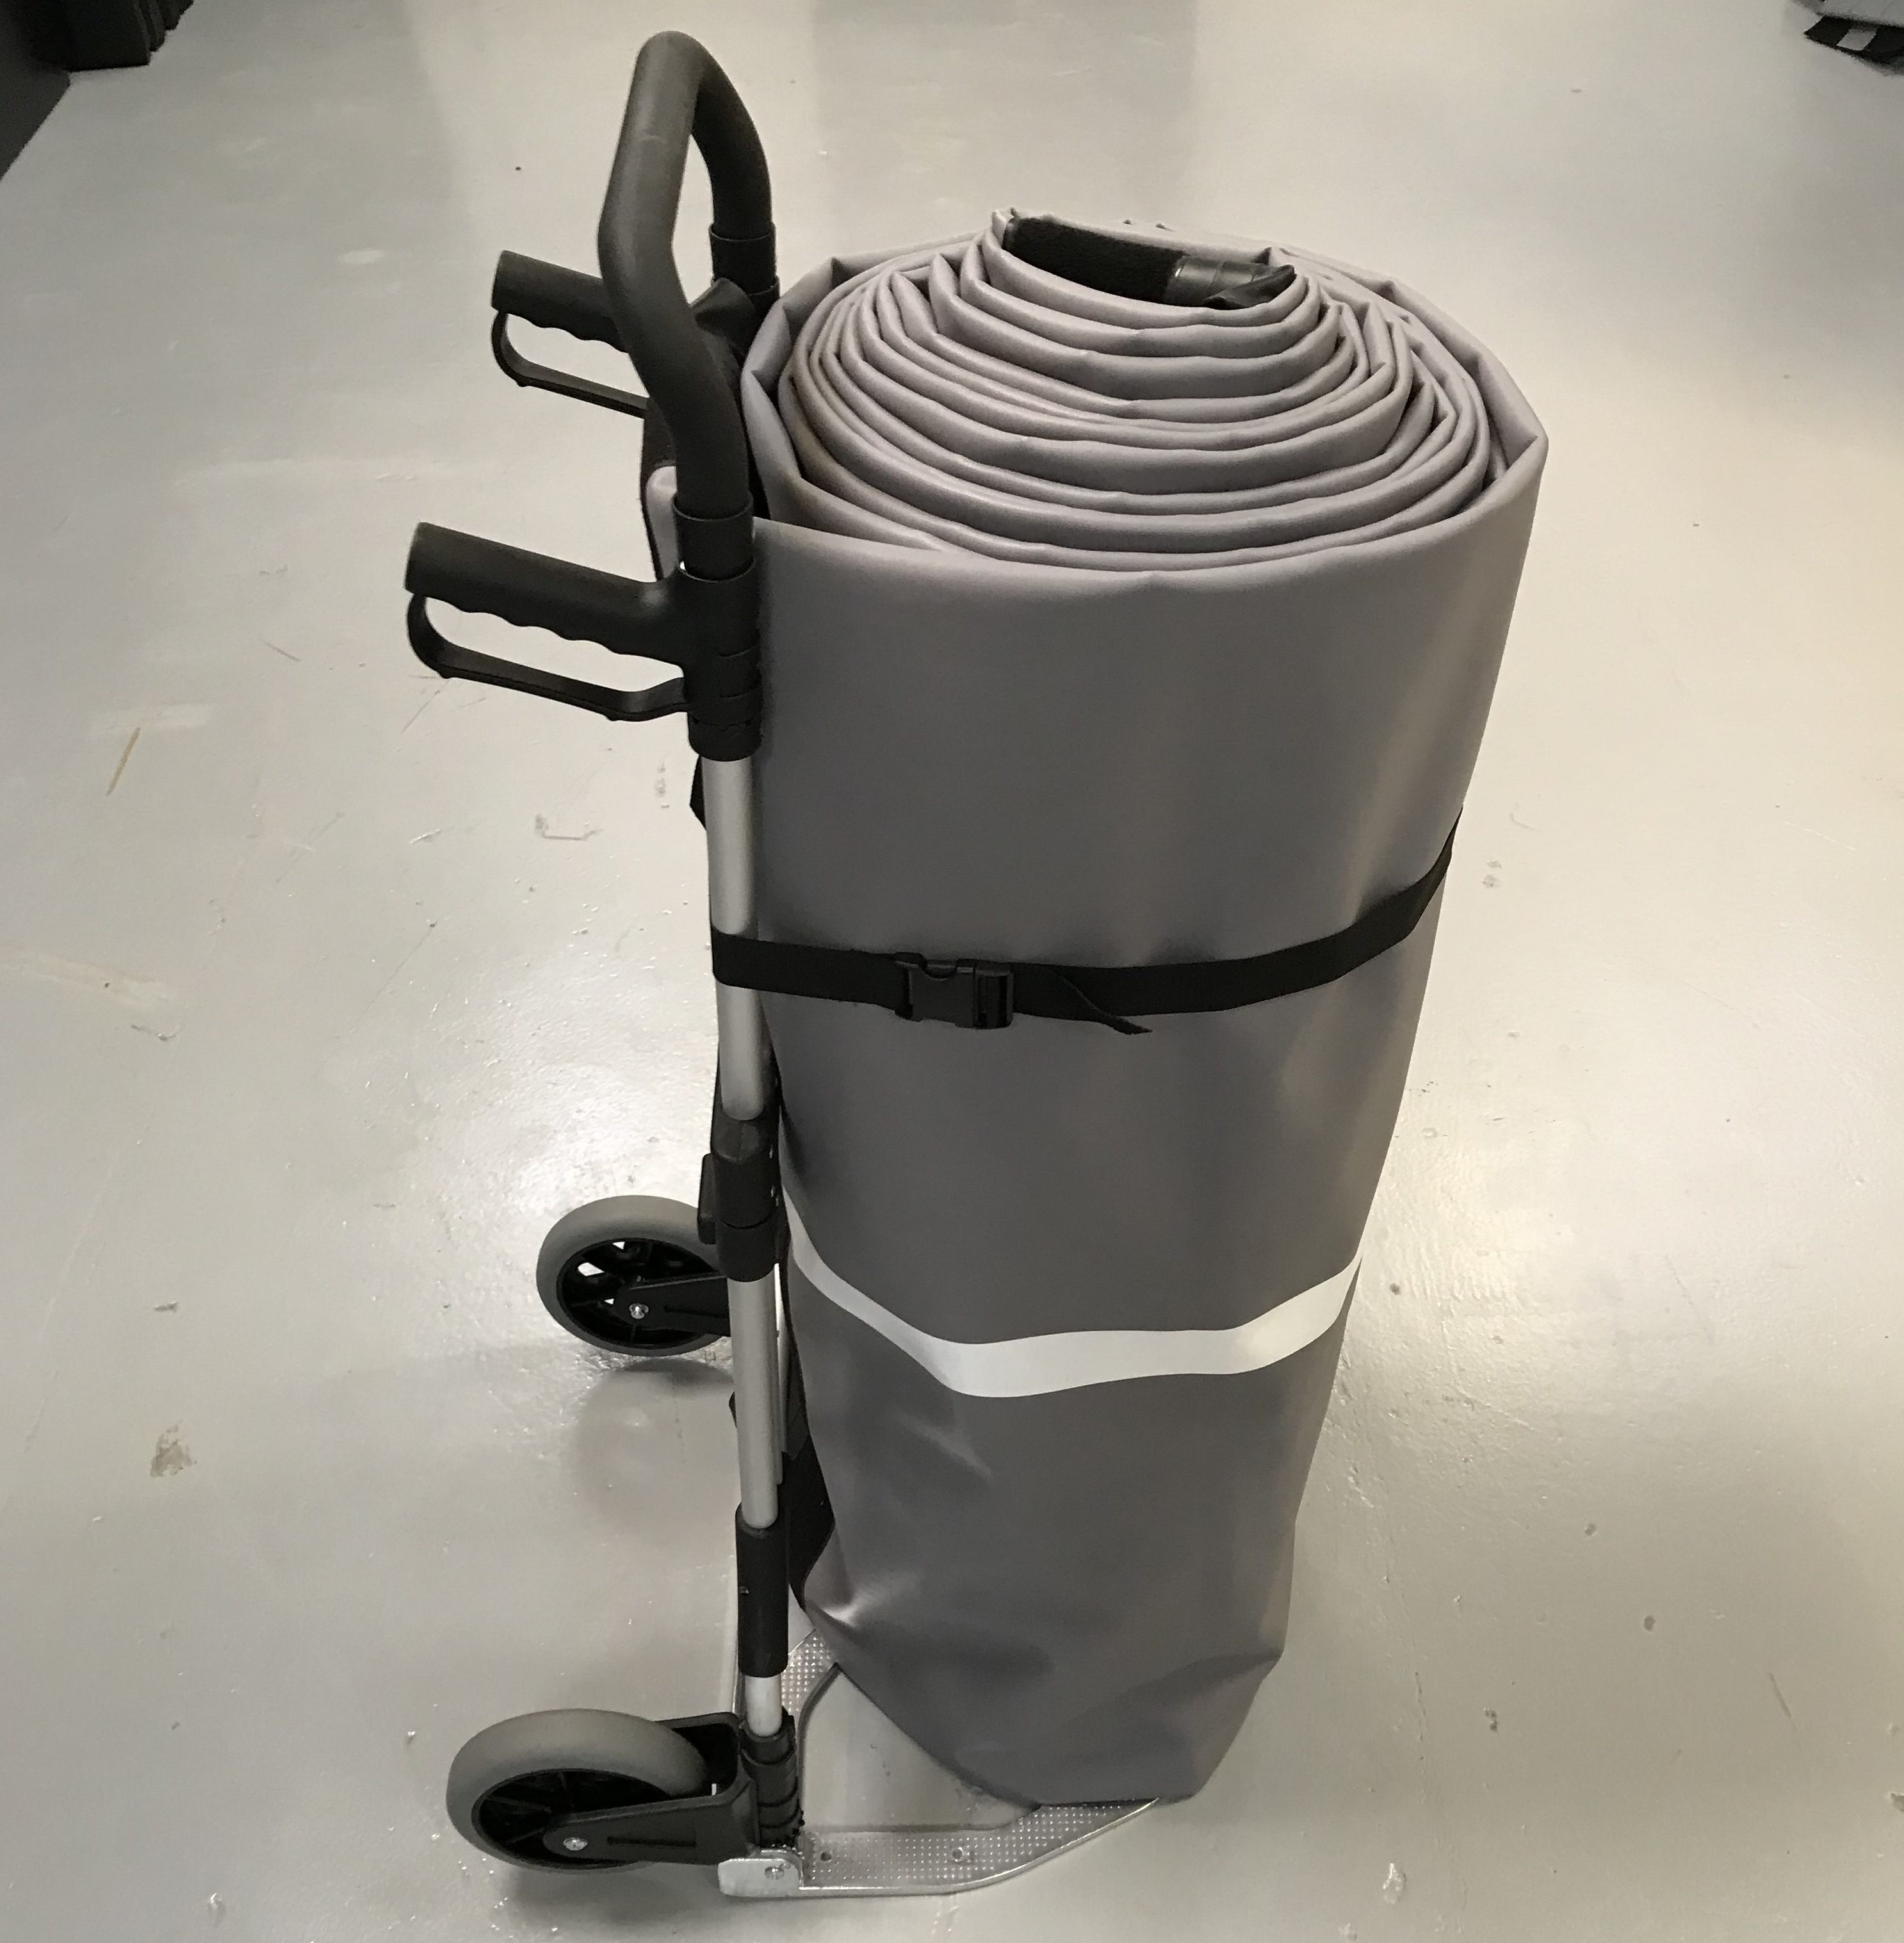
Recommended bigger sizes, buy a trolley for easy handling.
6.PROBLEM SOLVER
Losing air?
It is not unusual for an Airtrack to need a regulation of pressure. In particular, when using it outdoors, you may need to adjust the pressure several times a day. This is not because it is leaky; it is simply a law of nature (hot air takes up more space than cold air).
For example, if you pump up your Airtrack in cloudy weather, the pressure will rise if the sun comes out. The reverse is also true – the Airtrack will lose pressure if pumped up in the sunshine and then the sun goes away. This may seem a lot when going from a hot summer day to a cool night, so don’t worry that it’s leaking – it isn’t.
If the Airtrack loses an unusually high amount of pressure, check that the valves are closed properly by giving them a quick push. If it continues to lose air pressure, check it for holes or cracks – maybe it has been exposed to minor damage. (For repair of holes/cracks see – 7. Repair.)
Do you need an underlay for the Airtrack when using outdoors?
We always recommend that you protect your Airtrack when using it outdoors, so you might use blankets, tarpaulins, or purchase our specially manufactured protective underlay.
It takes the same amount of time to deflate the Airtrack as it does to inflate it.
7.REPAIR
LEAKAGE HOLE/CRACK
1.CLEAN THE AREA AROUND THE CRACK OR HOLE WITH ETHANOL.
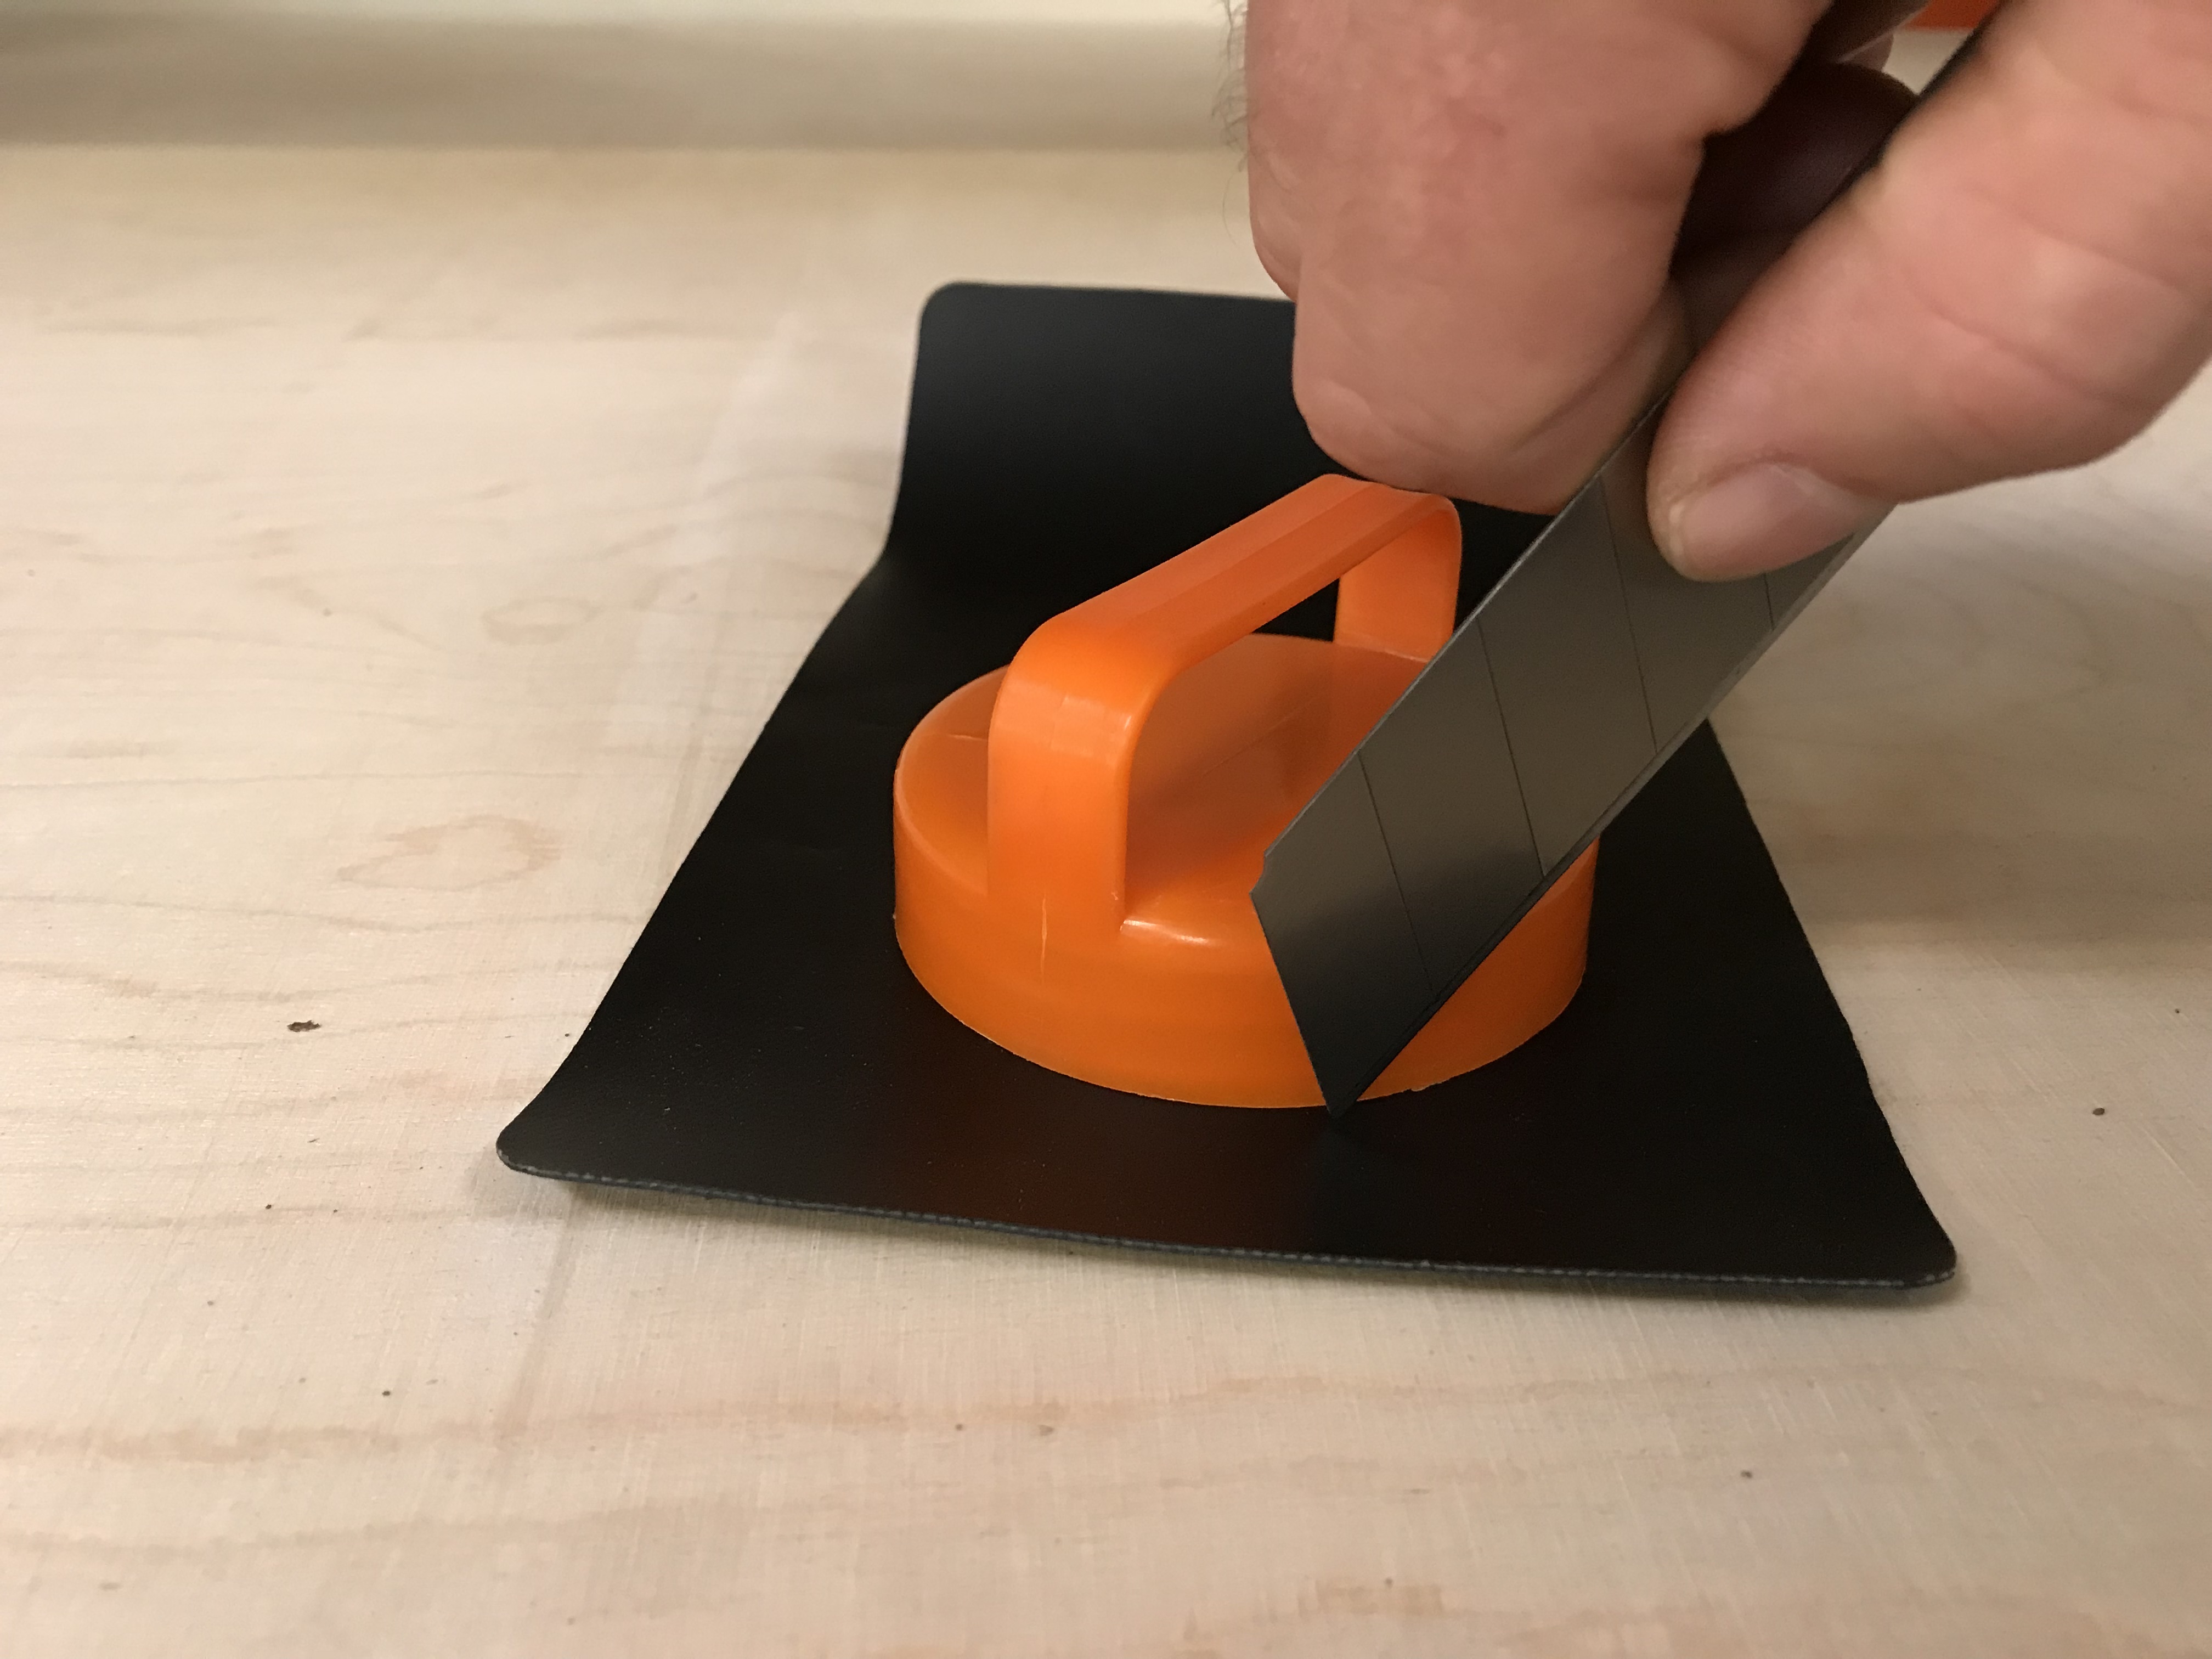
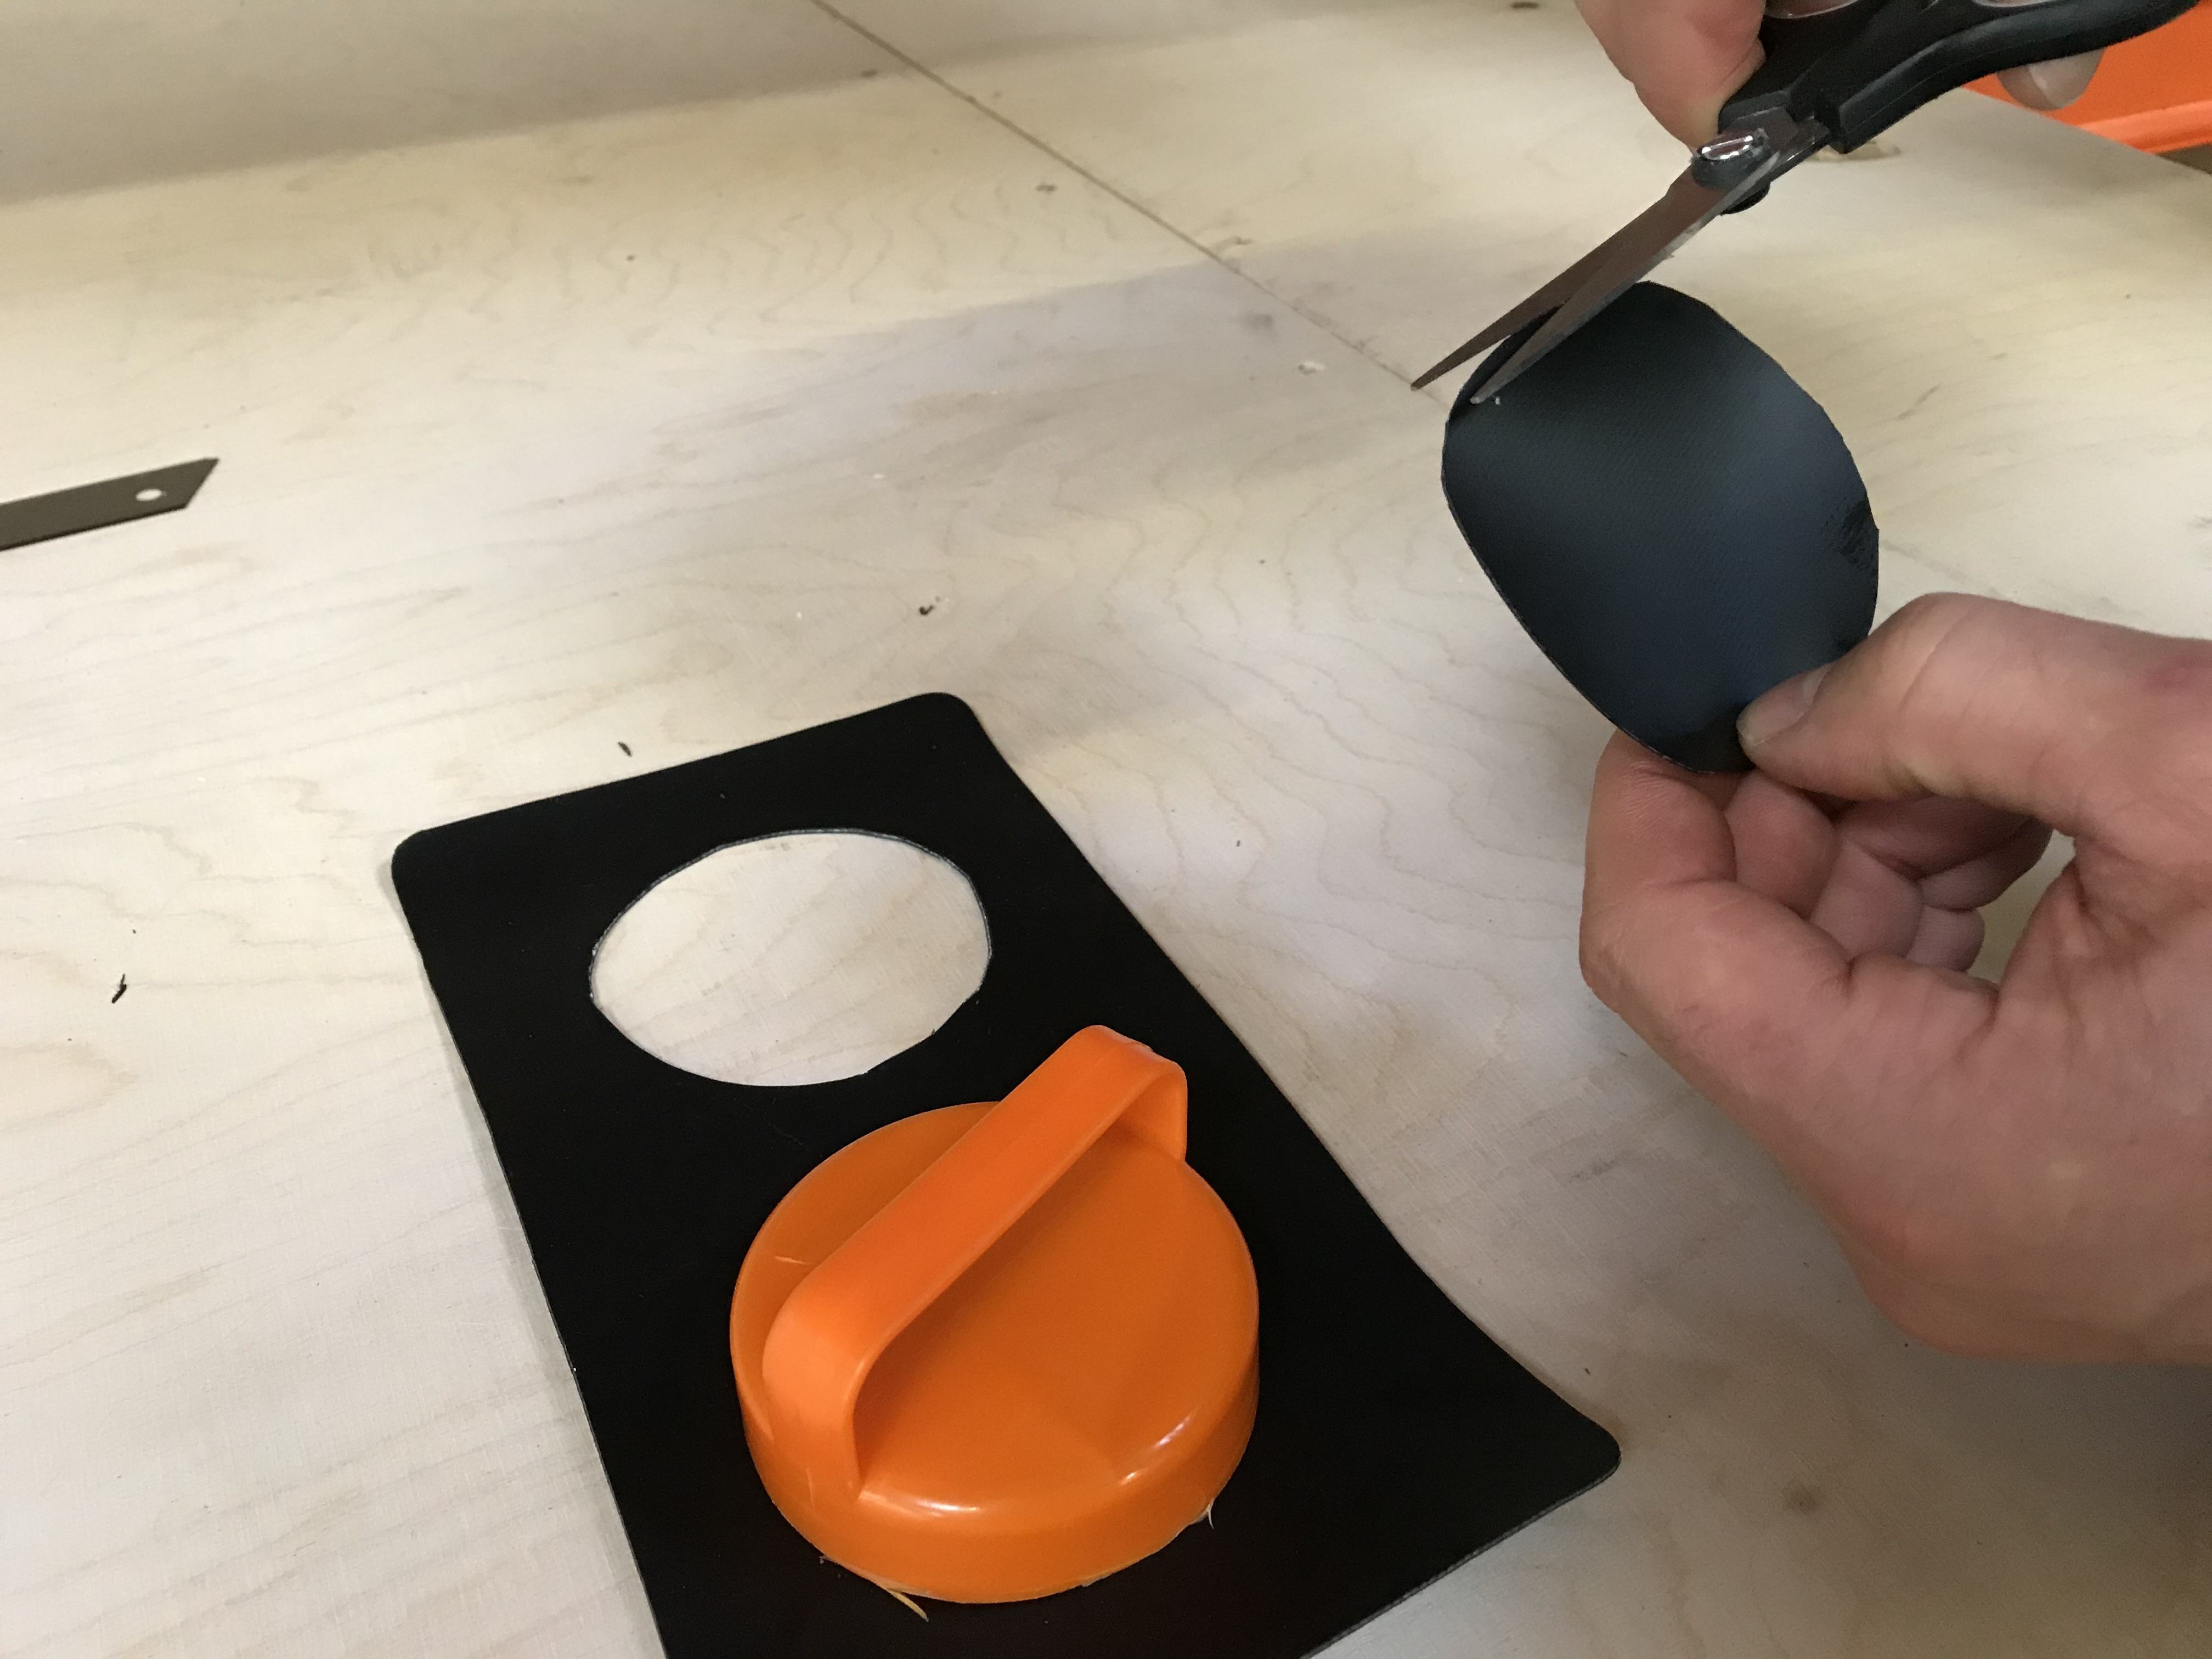
2.CUT A PIECE OF THE ENCLOSED PUNCTURE MATERIAL, TRIMMING IT TO THE REQUIRED SIZE. MAKE SURE THAT THE PATCH IS 3CM WIDER IN DIAMETER THAN THE HOLE ITSELF.
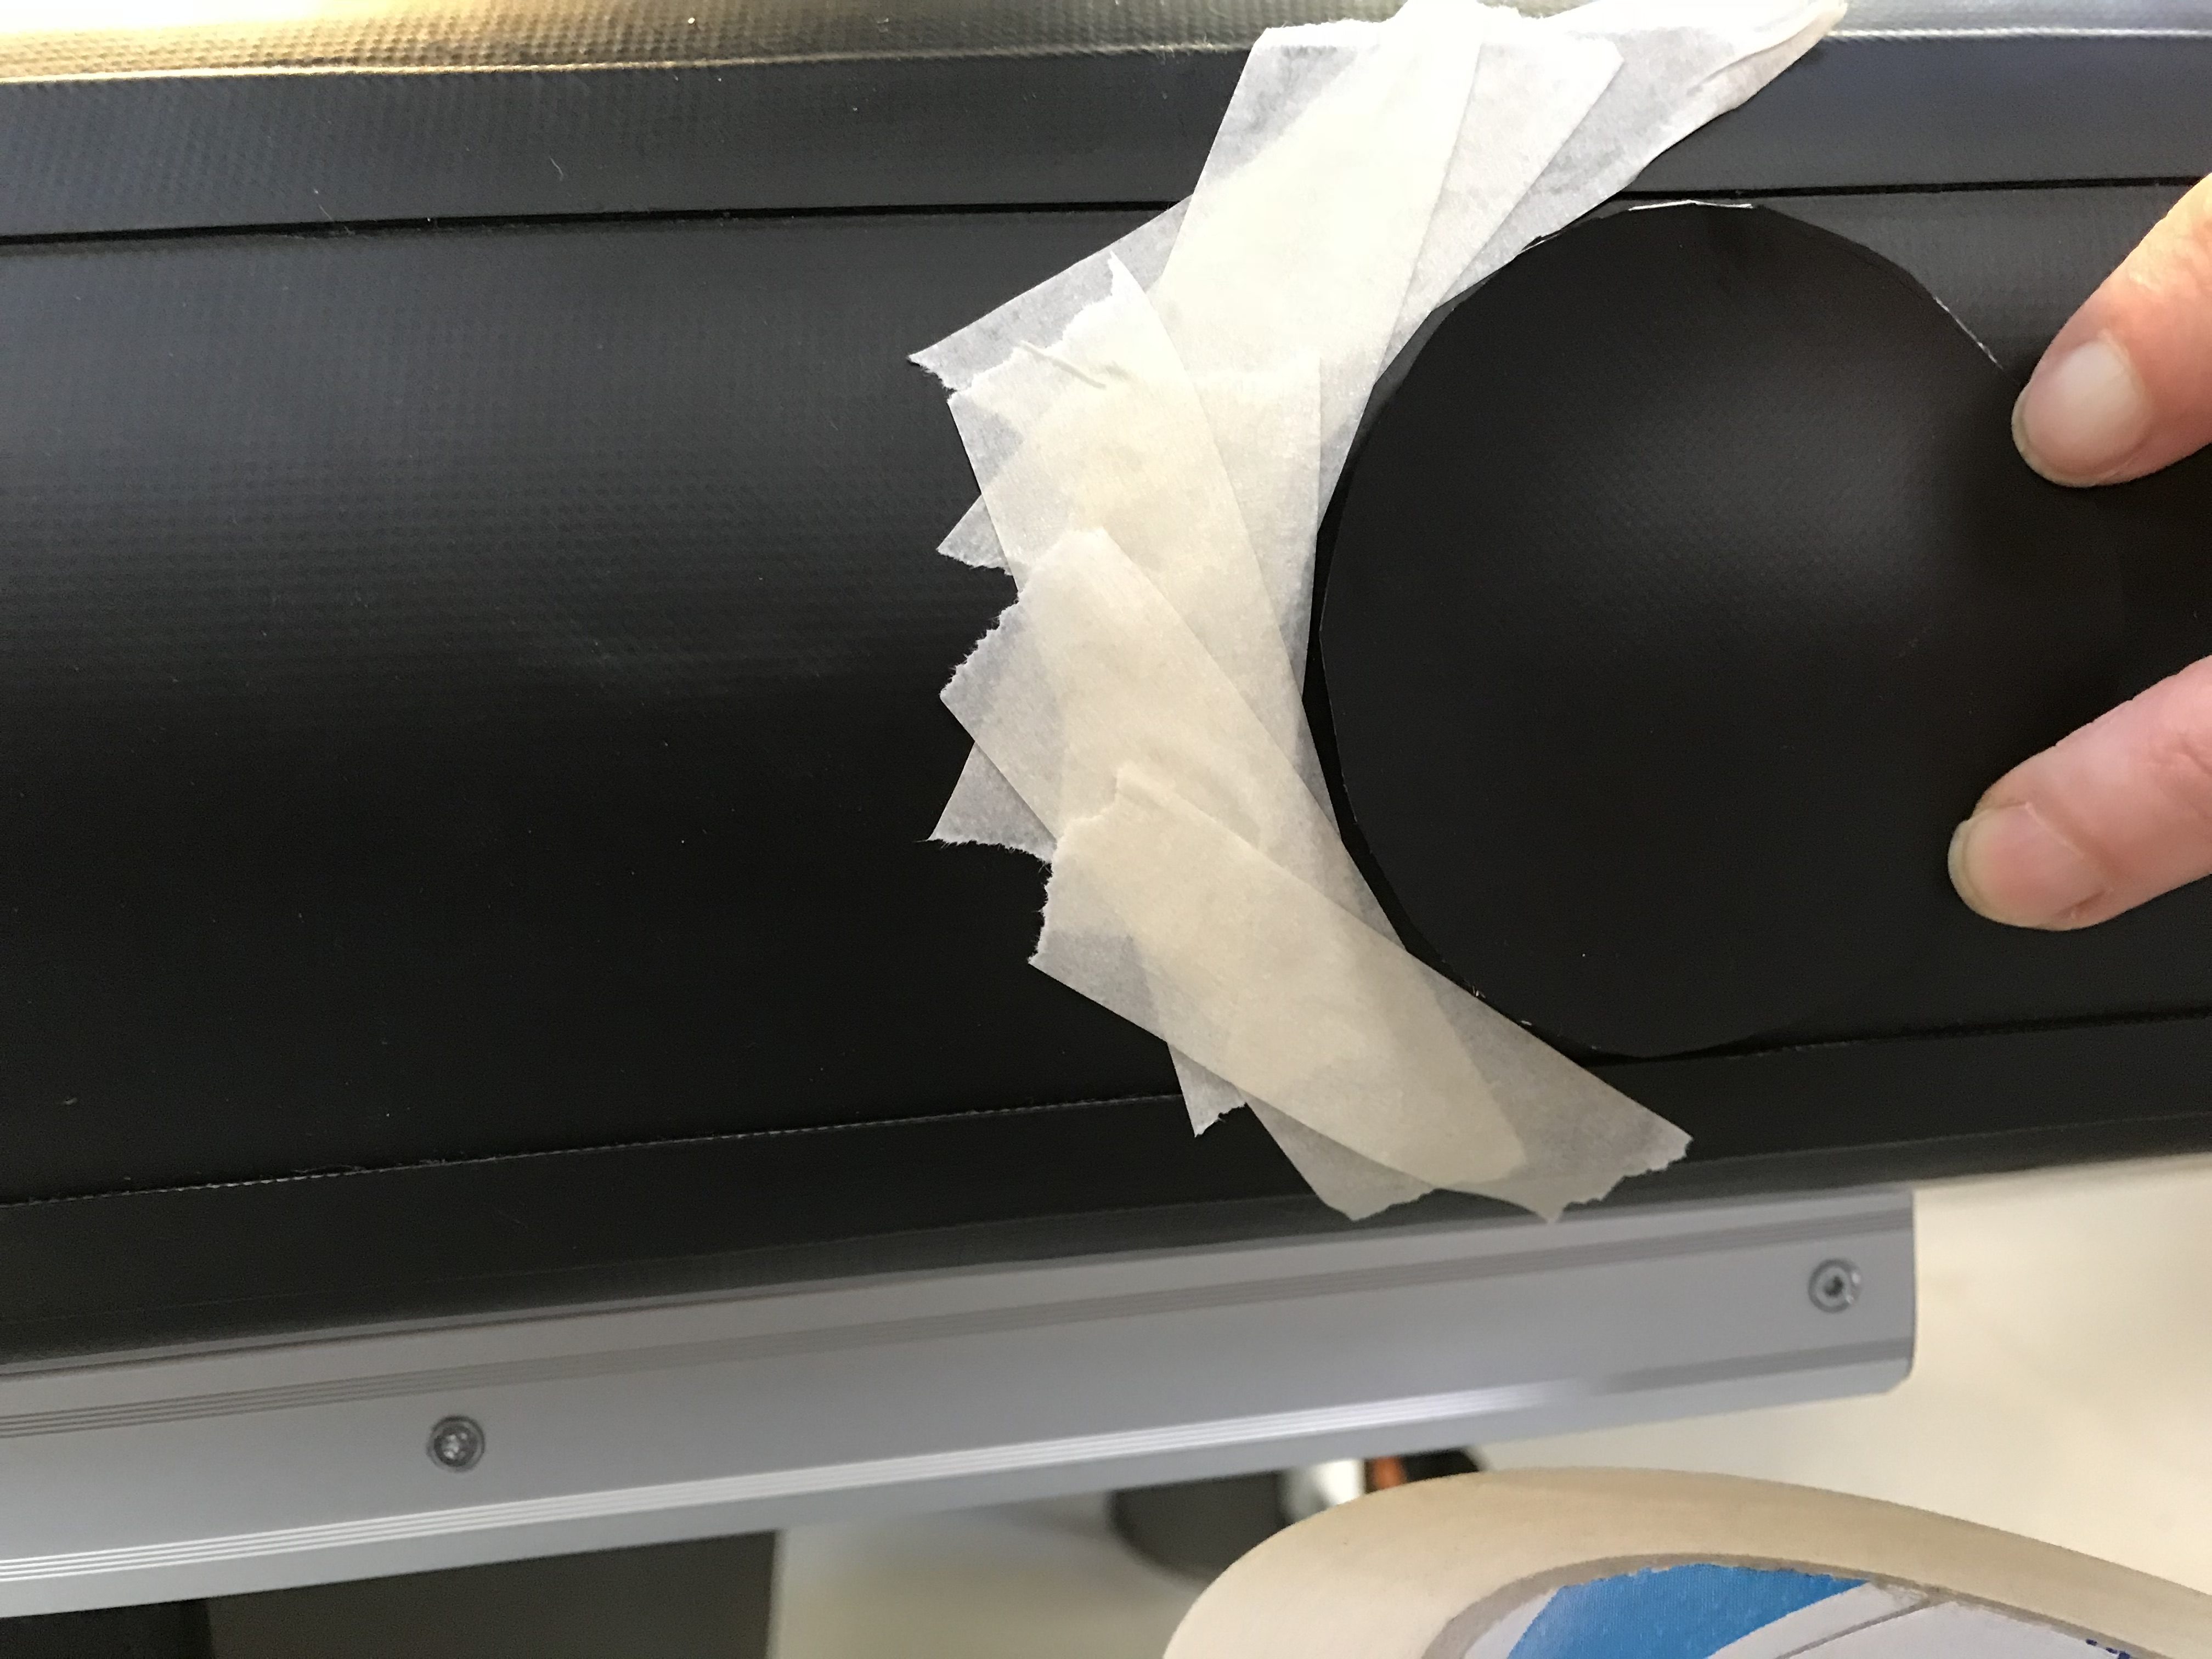
3. PUT PAINTER’S TAPE AROUND THE HOLE EQUAL TO THE DESIRED SIZE OF THE PATCH. USE THE CUT OUT PATCH AS A TEMPLATE.
5. OPEN THE GLUE, AND APPLY THE GLUE WITH A BRUSH ON THE PATCH AND AROUND THE HOLE.
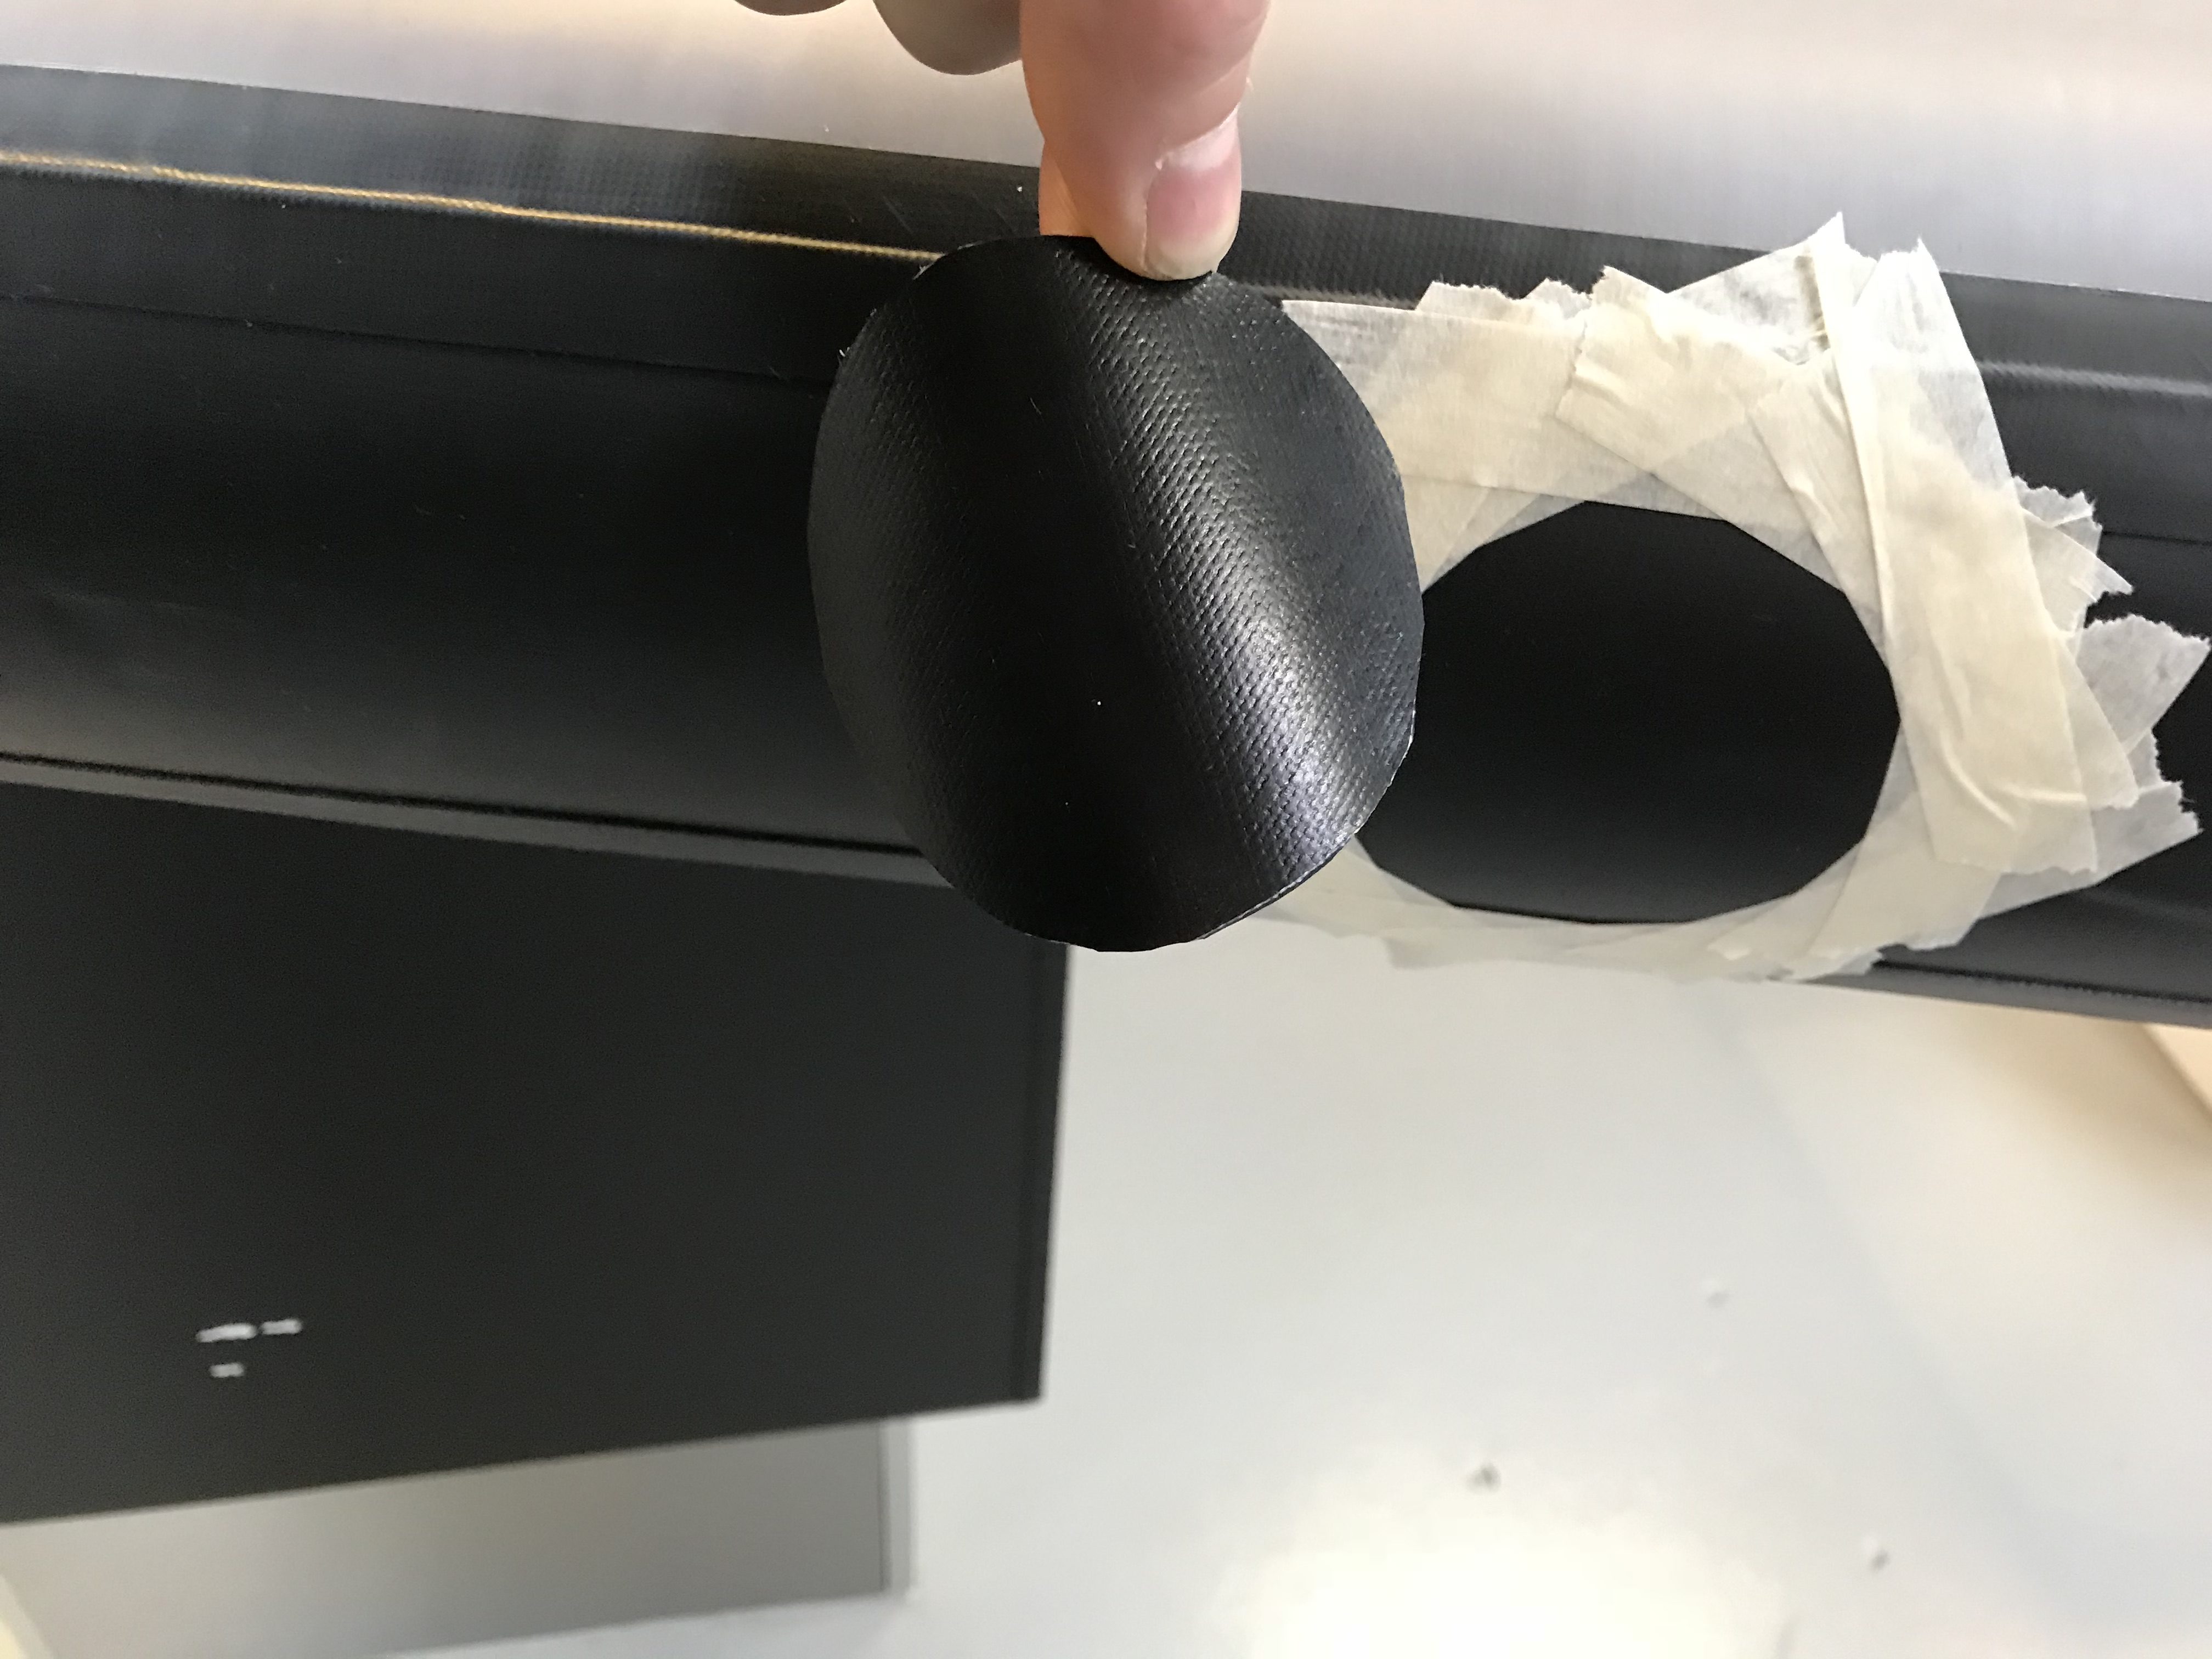
6. PLACE THE PATCH ON THE FRAMED AREA.
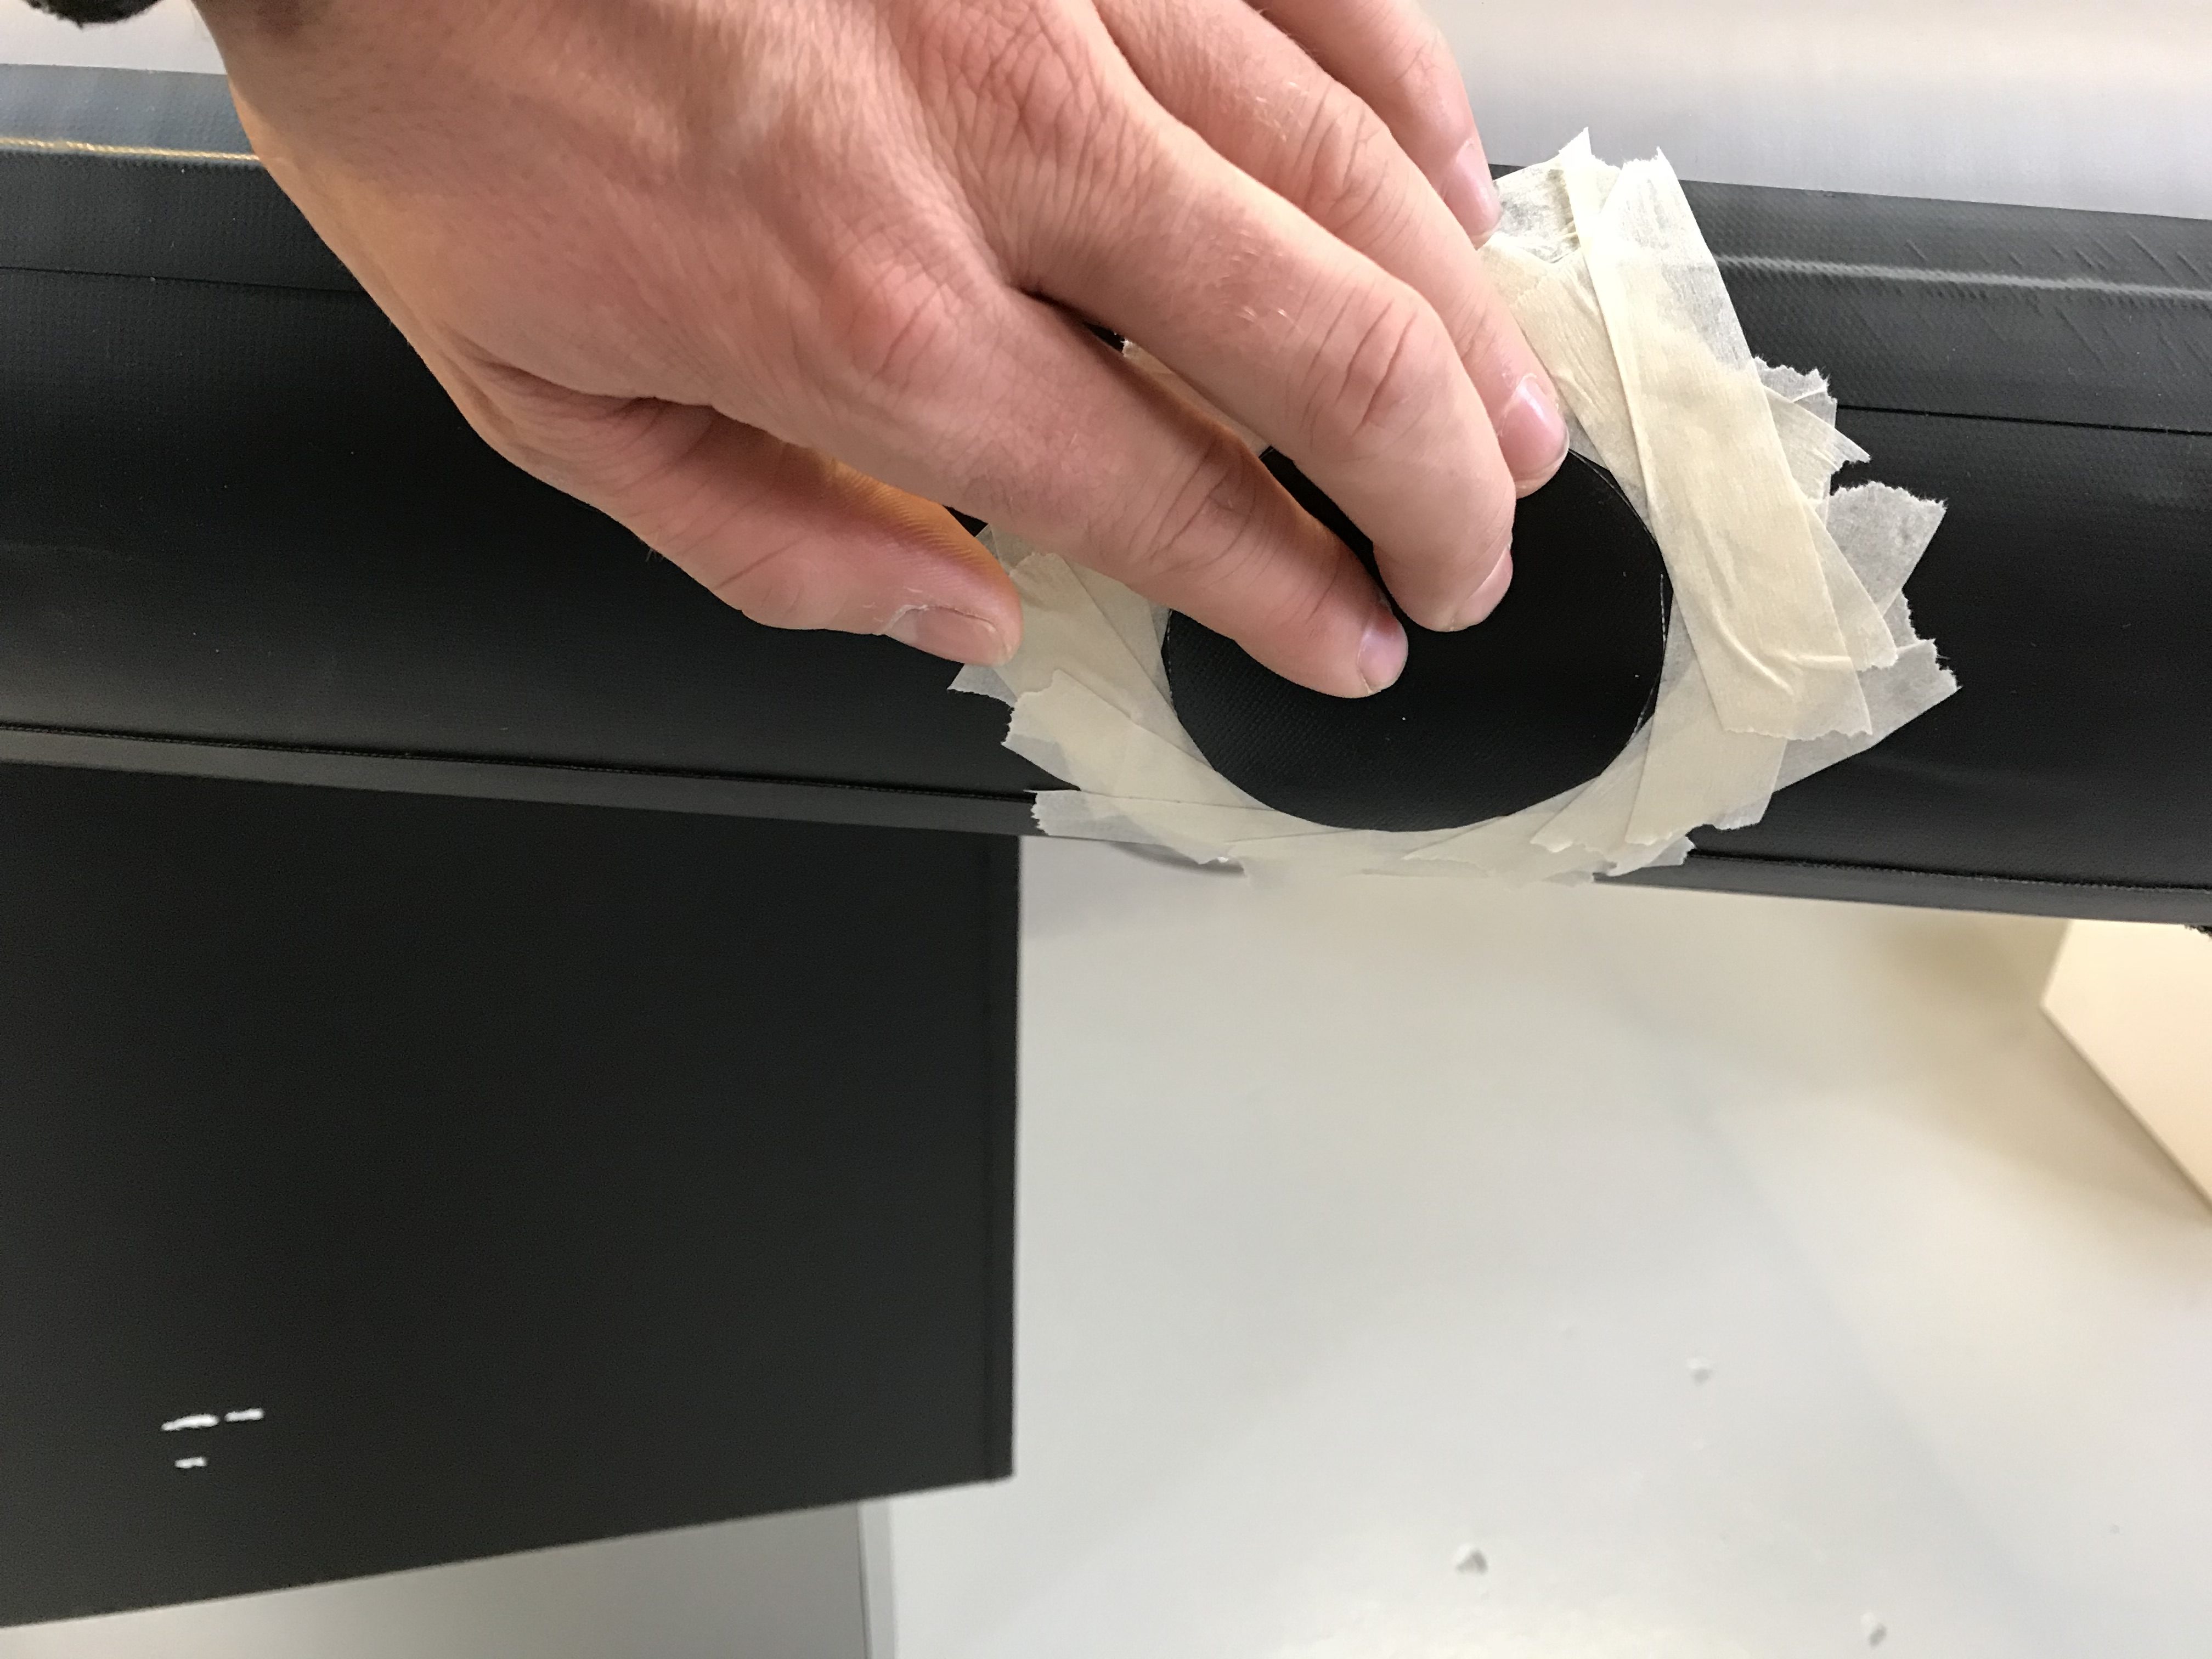
7.LEAVE IT TO DRY FOR 24 HOURS.
8.REMOVE THE TAPE.
9.YOUR AIRTRACK IS READY FOR USE.
For more information contact : FUNTRAX DANMARK + 45 717 417 27 info@funtrax.dk